Securing Your Windows 10 Environment: A Comprehensive Guide To Automatic Locking
Securing Your Windows 10 Environment: A Comprehensive Guide to Automatic Locking
Related Articles: Securing Your Windows 10 Environment: A Comprehensive Guide to Automatic Locking
Introduction
In this auspicious occasion, we are delighted to delve into the intriguing topic related to Securing Your Windows 10 Environment: A Comprehensive Guide to Automatic Locking. Let’s weave interesting information and offer fresh perspectives to the readers.
Table of Content
- 1 Related Articles: Securing Your Windows 10 Environment: A Comprehensive Guide to Automatic Locking
- 2 Introduction
- 3 Securing Your Windows 10 Environment: A Comprehensive Guide to Automatic Locking
- 3.1 Understanding the Significance of Automatic Locking
- 3.2 The Benefits of Automatic Locking
- 3.3 Implementing Automatic Locking in Windows 10
- 3.4 FAQs on Automatic Locking in Windows 10
- 3.5 Tips for Utilizing Automatic Locking Effectively
- 3.6 Conclusion
- 4 Closure
Securing Your Windows 10 Environment: A Comprehensive Guide to Automatic Locking
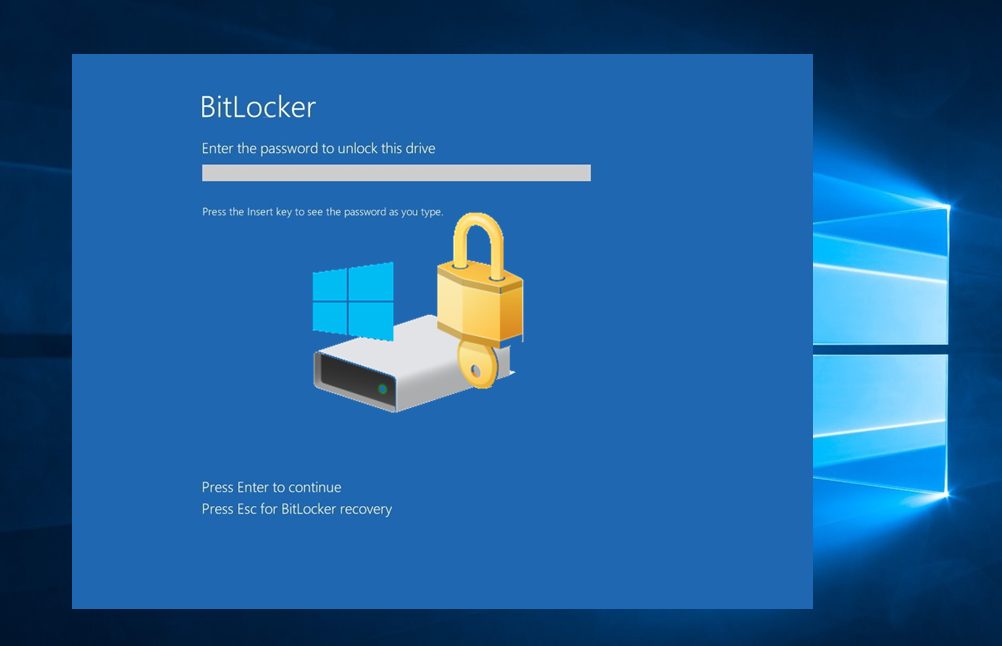
In the digital age, safeguarding sensitive data and maintaining privacy is paramount. While Windows 10 offers robust security features, leaving your computer unlocked poses a significant risk. This risk becomes even more pronounced in shared environments or when stepping away from your workstation for even a brief period. To mitigate these vulnerabilities, Windows 10 provides a powerful tool: automatic locking.
Understanding the Significance of Automatic Locking
Automatic locking is a security measure that automatically locks your Windows 10 device after a predetermined period of inactivity. This inactivity can be defined by factors such as screen timeout, keyboard or mouse inactivity, or a combination of both. By implementing automatic locking, users can significantly enhance their data security, protect against unauthorized access, and minimize the risk of accidental data disclosure.
The Benefits of Automatic Locking
- Data Protection: Automatic locking prevents unauthorized individuals from accessing sensitive information stored on your computer, including personal files, financial records, and confidential business data.
- Privacy Preservation: By automatically locking your device, you can ensure that your personal information, browsing history, and other sensitive data remain private, even when you are away from your computer.
- Enhanced Security: Automatic locking discourages unauthorized access attempts, reducing the risk of malware infections, data breaches, and other security threats.
- Compliance with Security Policies: In many corporate and organizational settings, automatic locking is a mandatory security requirement, ensuring adherence to data protection regulations and industry best practices.
- Peace of Mind: Knowing that your computer is automatically locked when you are away provides peace of mind, allowing you to focus on other tasks without worrying about potential security vulnerabilities.
Implementing Automatic Locking in Windows 10
Windows 10 offers several methods for configuring automatic locking, allowing users to tailor the feature to their specific needs and security preferences.
1. Using the Power Options:
- Navigate to the Settings app.
- Select System.
- Choose Power & sleep.
- Under the Screen section, adjust the Turn off the display after setting to your desired inactivity period.
- Similarly, under the Sleep section, adjust the Go to sleep after setting to define the time after which the computer will enter sleep mode.
2. Employing the Windows Security App:
- Open the Windows Security app.
- Navigate to Device Security.
- Click on Windows Hello PIN or Windows Hello Fingerprint.
- Under the Require PIN/Fingerprint section, select the Always option. This setting ensures that your device will automatically lock whenever you step away and attempt to access it again.
3. Utilizing the Group Policy Editor (for Windows 10 Pro and Enterprise versions):
- Press the Windows key + R, type gpedit.msc, and press Enter.
- Navigate to Computer Configuration > Administrative Templates > System > Power Management.
- Double-click on the Turn off the display after policy.
- Select Enabled and set the desired inactivity period in minutes.
- Similarly, configure the Turn off hard disk after policy to define the time after which the hard drive will go to sleep.
4. Leveraging Third-Party Applications:
- Numerous third-party applications are available that offer more advanced and customizable automatic locking features. These applications often provide options for setting specific locking triggers, such as inactivity periods, network disconnections, or even location-based locking.
FAQs on Automatic Locking in Windows 10
Q: What happens when my computer automatically locks?
A: When your computer automatically locks, the screen will lock, and you will be prompted to enter your password or use a biometric authentication method, such as a fingerprint or facial recognition, to regain access.
Q: Can I customize the inactivity period for automatic locking?
A: Yes, you can customize the inactivity period for automatic locking using the methods described above. You can set the time after which the screen will turn off, the hard drive will go to sleep, or the computer will automatically lock.
Q: Will my computer automatically lock if I am using a remote desktop connection?
A: No, your computer will not automatically lock if you are using a remote desktop connection. This is because the computer is still considered active as long as you are connected remotely.
Q: What are some best practices for using automatic locking?
A: It is generally recommended to set a relatively short inactivity period for automatic locking, such as 5-10 minutes, especially in public or shared environments. This ensures that your computer is locked quickly if you step away from it.
Q: Can I disable automatic locking if I need to keep my computer unlocked for extended periods?
A: Yes, you can disable automatic locking by adjusting the settings in the Power Options or the Windows Security app. However, it is important to consider the security risks associated with leaving your computer unlocked for extended periods.
Q: Are there any limitations to automatic locking?
A: Automatic locking relies on the inactivity period you set. If you are actively using your computer, such as typing or using the mouse, the automatic locking feature will not be triggered.
Tips for Utilizing Automatic Locking Effectively
- Set a reasonable inactivity period: Choose an inactivity period that is appropriate for your usage patterns and security needs.
- Enable strong passwords: Use strong passwords that are difficult to guess and avoid using common phrases or personal information.
- Consider using biometric authentication: Enable biometric authentication methods, such as fingerprint or facial recognition, for added security.
- Utilize a screen lock program: Consider using a screen lock program to add an extra layer of security to your computer.
- Keep your operating system and security software up to date: Regularly update your operating system and security software to ensure that you have the latest security patches and fixes.
Conclusion
Automatic locking in Windows 10 is a vital security feature that should be enabled on all computers, especially those used in shared environments or for accessing sensitive data. By implementing automatic locking, users can significantly reduce their risk of unauthorized access, data breaches, and other security threats. By following the tips and best practices outlined in this guide, you can effectively leverage automatic locking to secure your Windows 10 environment and protect your valuable data. Remember, staying vigilant about security measures is crucial in today’s digital landscape.


![Securing Windows 10 [Windows 10] - YouTube](https://i.ytimg.com/vi/tfxlgHX9fe8/maxresdefault.jpg)


Closure
Thus, we hope this article has provided valuable insights into Securing Your Windows 10 Environment: A Comprehensive Guide to Automatic Locking. We appreciate your attention to our article. See you in our next article!