Navigating The World Of Java 11: A Comprehensive Guide For Windows 10 64-bit Users
Navigating the World of Java 11: A Comprehensive Guide for Windows 10 64-bit Users
Related Articles: Navigating the World of Java 11: A Comprehensive Guide for Windows 10 64-bit Users
Introduction
In this auspicious occasion, we are delighted to delve into the intriguing topic related to Navigating the World of Java 11: A Comprehensive Guide for Windows 10 64-bit Users. Let’s weave interesting information and offer fresh perspectives to the readers.
Table of Content
Navigating the World of Java 11: A Comprehensive Guide for Windows 10 64-bit Users
Java, a robust and versatile programming language, continues to play a pivotal role in software development. Its widespread adoption across industries is a testament to its reliability, performance, and vast ecosystem. This article delves into the intricacies of installing Java 11 on a Windows 10 64-bit system, focusing on the Oracle JDK distribution.
Understanding the Landscape: Java Editions and Distributions
Before diving into the installation process, it’s crucial to understand the different editions and distributions of Java.
- Java SE (Standard Edition): This edition is the foundation of Java development, offering core functionalities for general-purpose programming.
- Java EE (Enterprise Edition): Primarily used for building and deploying enterprise applications, Java EE offers advanced features for scalability, security, and web services.
- Java ME (Micro Edition): Designed for resource-constrained devices like mobile phones and embedded systems, Java ME provides a lightweight platform for developing applications on such platforms.
Within each edition, multiple distributions exist. The two most prominent are:
- Oracle JDK: Developed and maintained by Oracle, the original creators of Java, it’s known for its comprehensive features and support.
- OpenJDK: An open-source implementation of Java, it offers a free and community-driven alternative to Oracle JDK, providing similar functionalities and performance.
For most developers, the Oracle JDK is the preferred choice due to its comprehensive feature set, extensive documentation, and dedicated support.
The Significance of Java 11
Java 11, released in September 2018, represents a significant milestone in the Java ecosystem. This Long-Term Support (LTS) release introduces several impactful features and improvements, including:
-
Local-Variable Type Inference: The
varkeyword allows the compiler to infer the type of local variables, simplifying code and improving readability. -
New String Methods: Enhancements to the
Stringclass includeisBlank(),lines(), andstrip(), facilitating efficient string manipulation. - HTTP/2 Client: A modern and efficient HTTP/2 client is introduced, enabling faster and more secure communication over the internet.
- Module System: The Java Platform Module System (JPMS) enhances code organization and improves application security.
- Enhanced Security: Java 11 strengthens security by introducing features like Transport Layer Security (TLS) 1.3 support and improved cryptography algorithms.
Downloading and Installing Java 11 on Windows 10 64-bit
The following steps outline the process of downloading and installing Java 11 on a Windows 10 64-bit system using the Oracle JDK:
-
Visit the Oracle Java Download Page: Navigate to the official Oracle Java website: https://www.oracle.com/java/technologies/javase-downloads.html
-
Accept the License Agreement: Carefully read and accept the Oracle Technology Network License Agreement for Java SE.
-
Select the Appropriate Download: Choose the "JDK Download" option and select the appropriate version for Windows 64-bit.
-
Download the Installer: Download the installer file, which is usually a
.exefile. -
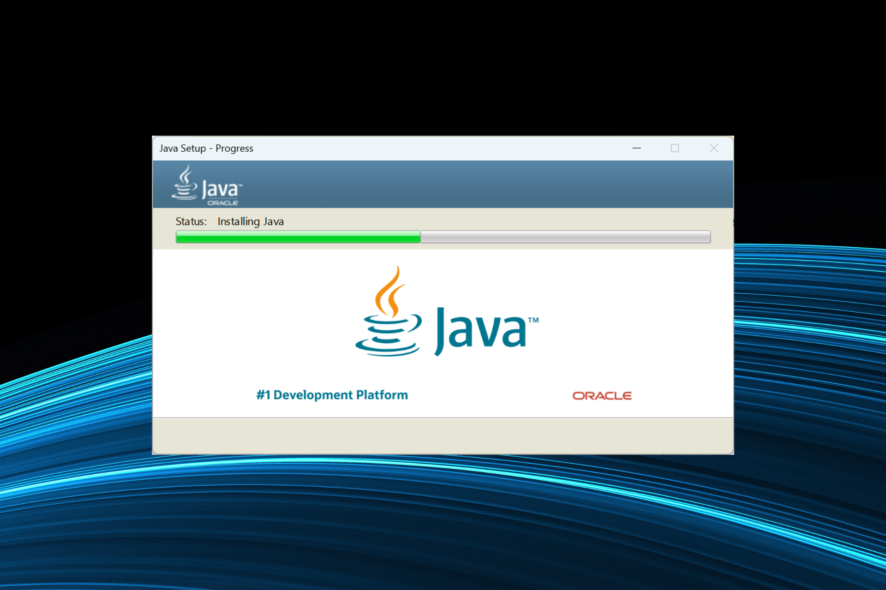
Run the Installer: Double-click the downloaded
.exefile to launch the installer. -
Follow the Installation Instructions: The installer will guide you through the installation process. Choose the default installation directory or specify a custom path.
-
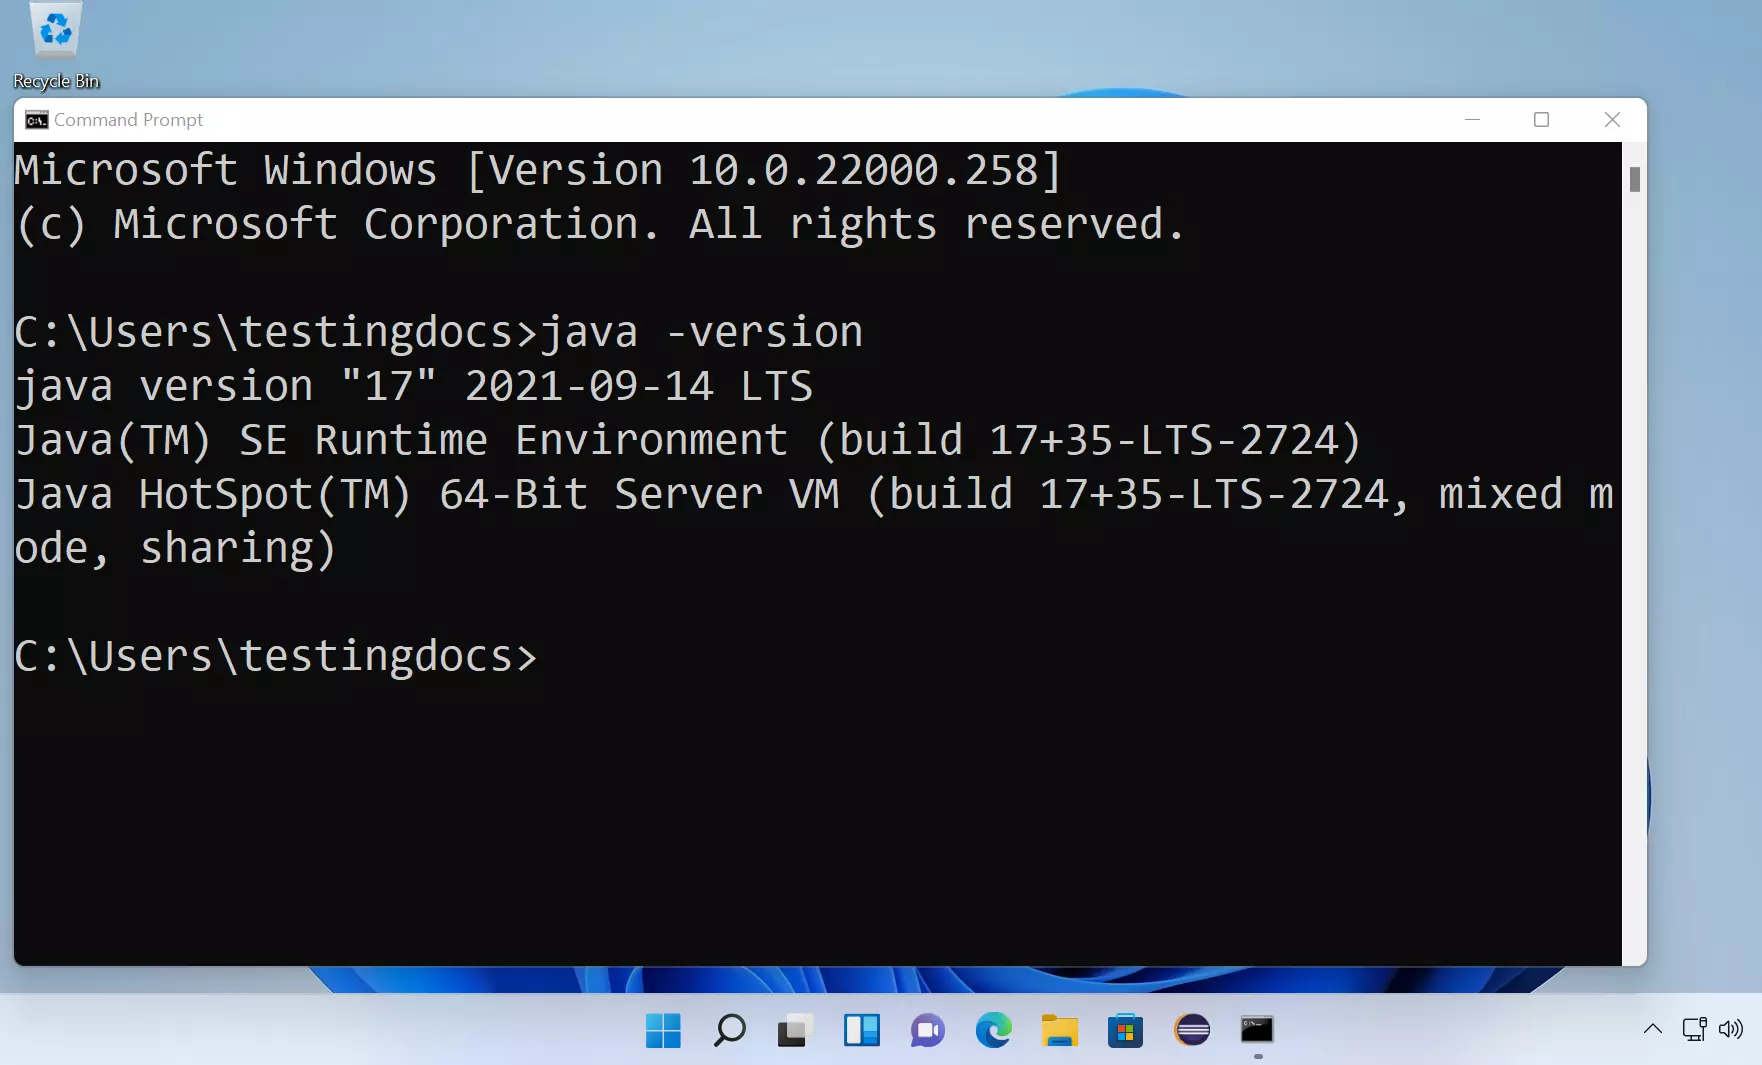
Complete the Installation: Once the installation is complete, verify the installation by opening a command prompt and typing
java -version. The output should display the installed Java 11 version.
Configuring Java Environment Variables
To ensure seamless execution of Java applications, it’s essential to configure the Java environment variables. This involves setting the JAVA_HOME and PATH variables:
-
Access System Properties: Right-click on "This PC" and select "Properties."
-
Open Advanced System Settings: Click on "Advanced system settings" in the left pane.
-
Navigate to Environment Variables: In the "System Properties" window, click on "Environment Variables."
-
Edit or Create
JAVA_HOME: In the "System variables" section, look for theJAVA_HOMEvariable. If it exists, edit it to point to the Java 11 installation directory. If it doesn’t exist, click on "New" to create a new variable with the nameJAVA_HOMEand the value as the installation path. -
Edit or Create
PATH: Locate thePATHvariable and click "Edit." Add a new entry to the path, pointing to thebindirectory within theJAVA_HOMEdirectory. For example, ifJAVA_HOMEis set toC:Program FilesJavajdk-11.0.10, add%JAVA_HOME%binto thePATHvariable. -
Apply Changes: Click "OK" on all open windows to apply the changes.
Testing the Installation
After configuring the environment variables, open a new command prompt and type java -version. This command should display the installed Java 11 version, confirming the successful installation.
Additional Considerations
- Java Development Kit (JDK) vs. Java Runtime Environment (JRE): The JDK includes development tools like the compiler and debugger, while the JRE provides the runtime environment for executing Java applications. For development purposes, install the JDK.
- Java Version Management: If you need to work with multiple Java versions, consider using a Java version management tool like jEnv or SDKMAN! to simplify switching between different versions.
- Security Updates: Regularly check for and install security updates for Java to ensure your system is protected against vulnerabilities.
Frequently Asked Questions
Q: What are the system requirements for installing Java 11 on Windows 10 64-bit?
A: Java 11 requires a 64-bit Windows 10 operating system with at least 2 GB of RAM and 20 GB of free disk space.
Q: Can I use Java 11 with older Java applications?
A: Java 11 is generally backward compatible with older Java applications. However, some older applications might require specific Java versions or may have compatibility issues with newer features introduced in Java 11.
Q: Is it possible to uninstall Java 11 after installation?
A: Yes, Java 11 can be uninstalled using the Windows Control Panel or by running the installer with the /uninstall option.
Q: How do I update Java 11 to a newer version?
A: To update Java 11, download and install the latest version from the Oracle Java website. The new installation will overwrite the existing Java 11 installation.
Q: What are the benefits of using Java 11 over older versions?
A: Java 11 offers numerous benefits, including improved performance, enhanced security, new language features, and support for modern technologies like HTTP/2.
Tips for Java 11 Development
- Use an IDE: An Integrated Development Environment (IDE) like Eclipse or IntelliJ IDEA provides features like code completion, debugging, and refactoring, enhancing productivity.
- Explore Java Documentation: The official Java documentation is a valuable resource for learning about Java APIs, classes, and methods.
- Utilize Open Source Libraries: The Java ecosystem boasts a wealth of open-source libraries that provide pre-built functionalities for various tasks, saving development time and effort.
- Participate in the Java Community: Engage with the Java community through forums, online groups, and conferences to share knowledge and learn from experienced developers.
Conclusion
Installing Java 11 on a Windows 10 64-bit system using the Oracle JDK is a straightforward process that unlocks access to a powerful and versatile programming language. Understanding the different editions and distributions of Java, along with the key features introduced in Java 11, empowers developers to leverage the full potential of this robust platform. By following the steps outlined in this guide and utilizing the provided resources, developers can seamlessly integrate Java 11 into their projects, enhancing their development workflow and building innovative applications.


Closure
Thus, we hope this article has provided valuable insights into Navigating the World of Java 11: A Comprehensive Guide for Windows 10 64-bit Users. We hope you find this article informative and beneficial. See you in our next article!