Navigating The Path: Loading Drivers During Windows 10 Installation From A USB Drive
Navigating the Path: Loading Drivers During Windows 10 Installation from a USB Drive
Related Articles: Navigating the Path: Loading Drivers During Windows 10 Installation from a USB Drive
Introduction
With great pleasure, we will explore the intriguing topic related to Navigating the Path: Loading Drivers During Windows 10 Installation from a USB Drive. Let’s weave interesting information and offer fresh perspectives to the readers.
Table of Content
- 1 Related Articles: Navigating the Path: Loading Drivers During Windows 10 Installation from a USB Drive
- 2 Introduction
- 3 Navigating the Path: Loading Drivers During Windows 10 Installation from a USB Drive
- 3.1 Understanding the Need for Drivers
- 3.2 Loading Drivers During Installation: A Step-by-Step Guide
- 3.3 Frequently Asked Questions (FAQs)
- 3.4 Tips for Success
- 3.5 Conclusion
- 4 Closure
Navigating the Path: Loading Drivers During Windows 10 Installation from a USB Drive
The process of installing Windows 10 from a USB drive can be a straightforward endeavor, but complications can arise when the system lacks the necessary drivers for essential hardware components. This scenario often occurs when installing Windows 10 on a new motherboard, a machine with outdated drivers, or a system with specialized hardware. To ensure a smooth installation and full functionality, incorporating drivers into the installation process is crucial. This article aims to demystify the process of loading drivers during Windows 10 installation from a USB drive, providing a comprehensive guide for navigating this essential aspect of the setup.
Understanding the Need for Drivers
Drivers are software programs that enable the operating system to communicate with and control hardware devices. Without the correct drivers, the operating system cannot recognize or utilize hardware components effectively. This can lead to various issues, including:
- Missing or malfunctioning devices: The system may not detect certain hardware components, resulting in their absence from the Device Manager.
- Limited functionality: Even if a device is detected, it may operate with reduced functionality or limitations due to the lack of appropriate drivers.
- System instability: Missing or outdated drivers can lead to system crashes, errors, and overall instability.
Loading Drivers During Installation: A Step-by-Step Guide
The process of loading drivers during Windows 10 installation from a USB drive involves the following steps:
1. Preparing the USB Drive:
- Create a bootable USB drive: Download the Windows 10 ISO file from Microsoft’s website and use a tool like Rufus or the Windows USB/DVD Download Tool to create a bootable USB drive.
- Gather necessary drivers: Identify the drivers required for your specific hardware components. These drivers are typically available on the manufacturer’s website. Download and save them to a separate folder on your computer.
2. Integrating Drivers into the Installation Media:
- Extract the driver files: Unzip or extract the downloaded driver packages.
- Copy drivers to USB drive: Locate the extracted driver files and copy them to the "sources" folder on your bootable USB drive.
- Create a "Drivers" folder: Within the "sources" folder, create a new folder named "Drivers".
- Organize driver folders: Create separate folders within the "Drivers" folder for each hardware component. For example, create a folder named "Network" for network drivers, "Graphics" for graphics card drivers, etc.
- Place driver files in respective folders: Move the extracted driver files into the corresponding folders you created within the "Drivers" folder.
3. Loading Drivers During Installation:
- Boot from USB drive: Connect the bootable USB drive to your computer and boot from it.
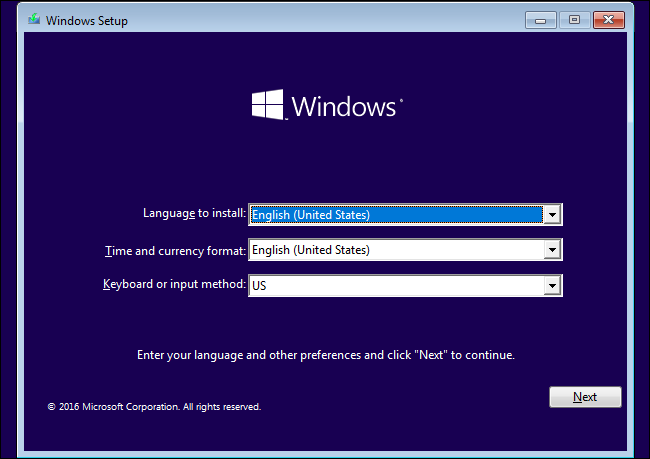
- Initiate Windows 10 setup: Follow the on-screen instructions to begin the installation process.
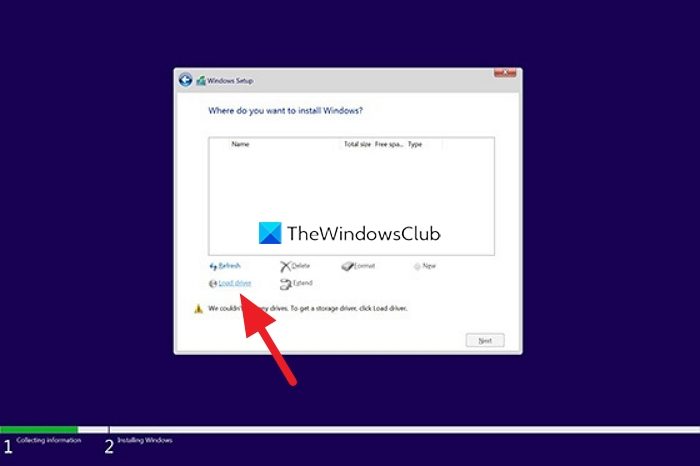
- Navigate to "Custom" installation: Choose the "Custom" installation option to access advanced settings.
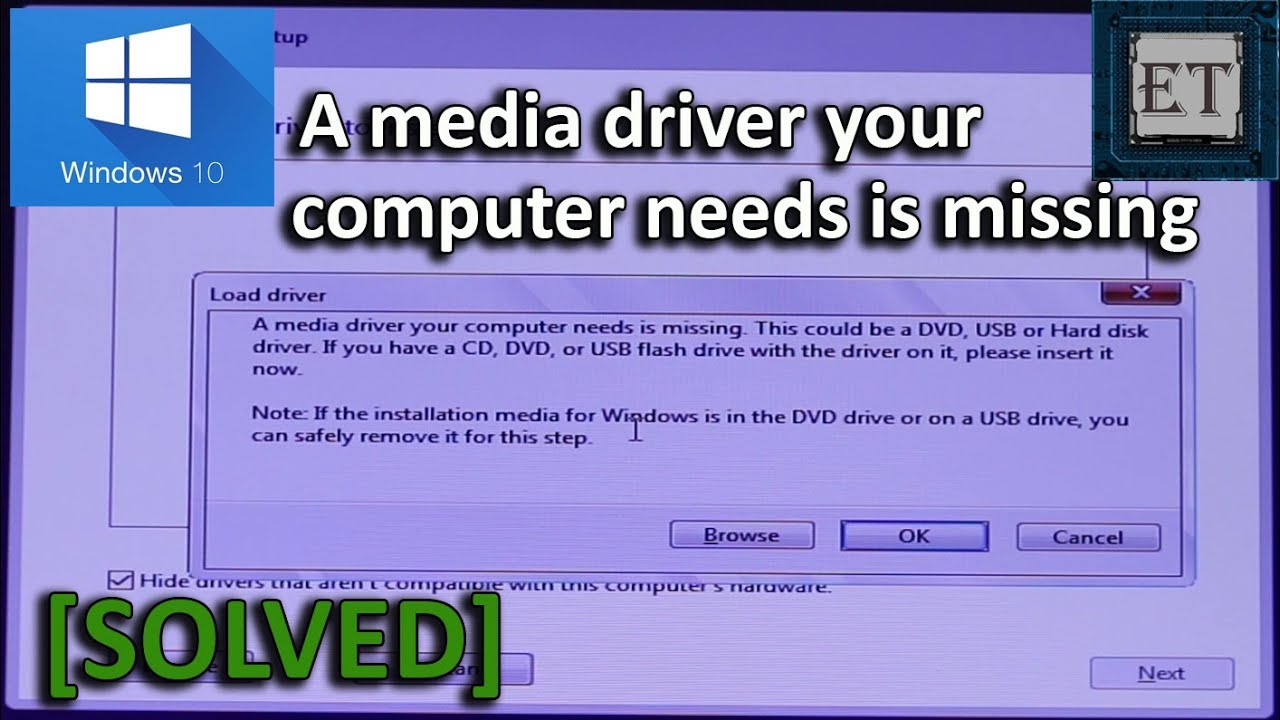
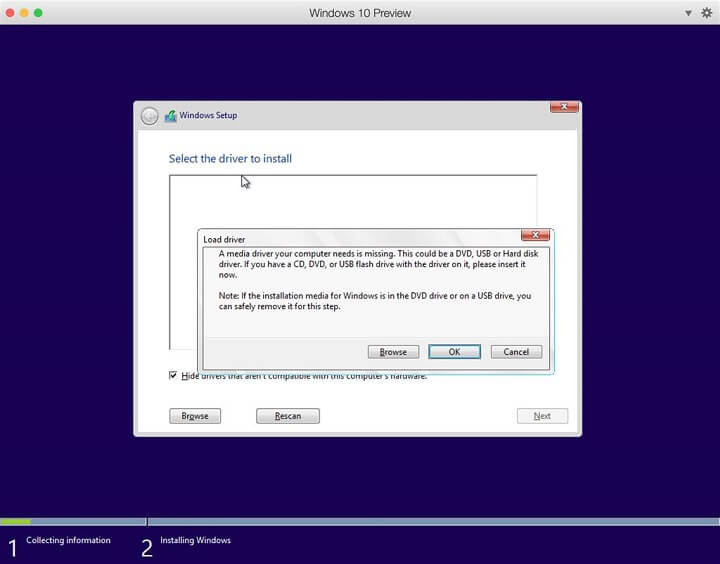
- Load drivers: When prompted to select the drive where you want to install Windows 10, click on the "Load Driver" button.
- Browse for drivers: Navigate to the "Drivers" folder on your USB drive and select the appropriate driver files for the desired hardware component.
- Install drivers: Click "OK" to install the selected drivers.
- Continue installation: Once the drivers are loaded, continue with the remaining installation steps.
4. Post-Installation Verification:
- Check Device Manager: After the installation is complete, open the Device Manager to verify that all hardware components are detected and have the correct drivers installed.
- Test functionality: Test the functionality of all hardware components to ensure they are working as expected.
Frequently Asked Questions (FAQs)
Q: What types of drivers should I include on the USB drive?
A: Include drivers for all essential hardware components, such as:
- Network adapters: For internet connectivity.
- Graphics cards: For display and visual performance.
- Storage controllers: For hard drives and SSDs.
- Chipset drivers: For the motherboard’s core functionality.
- Wireless adapters: For Wi-Fi connectivity.
- Audio drivers: For sound output.
- Bluetooth drivers: For Bluetooth devices.
Q: How do I identify the correct drivers for my hardware?
A:
- Manufacturer’s website: The most reliable source for drivers is the manufacturer’s website. Search for your specific hardware model on their website and download the latest drivers.
- Device Manager: Open Device Manager and check for any devices with yellow exclamation marks. These indicate missing or outdated drivers. Right-click on the device and select "Update Driver" to search for drivers automatically.
Q: Can I load drivers after the installation is complete?
A: Yes, you can install drivers after the installation is complete. However, it is recommended to install drivers during the setup process to ensure optimal system functionality from the beginning.
Q: What if I cannot find the drivers for a specific hardware component?
A: If you are unable to find the necessary drivers, consider contacting the hardware manufacturer for support. They may be able to provide you with the drivers or direct you to a reliable source.
Tips for Success
- Backup important data: Before starting the installation process, back up all important data to prevent data loss.
- Use a clean USB drive: Use a clean USB drive that is formatted as FAT32.
- Download drivers beforehand: Download and extract the necessary drivers before starting the installation process to save time.
- Verify driver compatibility: Ensure that the drivers you download are compatible with your operating system and hardware.
- Check for updates: After installation, check for driver updates from the manufacturer’s website to ensure optimal performance.
Conclusion
Loading drivers during Windows 10 installation from a USB drive is a crucial step to ensure smooth operation and full functionality of all hardware components. By following the steps outlined in this guide, users can seamlessly integrate drivers into the installation process, preventing potential compatibility issues and system instability. Remember to gather the necessary drivers beforehand, organize them appropriately, and verify the installation after setup is complete. With careful planning and execution, the installation process can be a smooth and successful endeavor.

:max_bytes(150000):strip_icc()/A9-InstallWindows10FromUSB-annotated-513bc62865ab46c4b0061e8451d0cece.jpg)

:max_bytes(150000):strip_icc()/A4-InstallWindows10FromUSB-annotated-0361bf5033814e70ae75a3bb366af6e2.jpg)

Closure
Thus, we hope this article has provided valuable insights into Navigating the Path: Loading Drivers During Windows 10 Installation from a USB Drive. We appreciate your attention to our article. See you in our next article!