Navigating The Java Ecosystem: A Comprehensive Guide To Installing JDK On Windows 10 64-bit
Navigating the Java Ecosystem: A Comprehensive Guide to Installing JDK on Windows 10 64-bit
Related Articles: Navigating the Java Ecosystem: A Comprehensive Guide to Installing JDK on Windows 10 64-bit
Introduction
In this auspicious occasion, we are delighted to delve into the intriguing topic related to Navigating the Java Ecosystem: A Comprehensive Guide to Installing JDK on Windows 10 64-bit. Let’s weave interesting information and offer fresh perspectives to the readers.
Table of Content
Navigating the Java Ecosystem: A Comprehensive Guide to Installing JDK on Windows 10 64-bit

The Java Development Kit (JDK) is the cornerstone of Java development, providing essential tools and libraries for building, compiling, and running Java applications. This comprehensive guide will walk you through the process of installing the JDK on a Windows 10 64-bit system, emphasizing the importance of this fundamental step in the Java programming journey.
Understanding the JDK’s Significance
The JDK is not merely a software package; it’s the foundation upon which the entire Java ecosystem rests. It comprises:
-
The Java Compiler (javac): This tool translates Java source code (
.javafiles) into bytecode (.classfiles), making it understandable by the Java Virtual Machine (JVM). - The Java Virtual Machine (JVM): This runtime environment executes Java bytecode, enabling platform independence – the ability to run Java applications on various operating systems without modification.
- Java Libraries: A rich collection of pre-written code that provides developers with ready-to-use functionalities for common tasks, ranging from basic input/output operations to advanced networking and graphical user interface development.
Choosing the Right JDK Version
Before embarking on the installation process, it’s crucial to select the appropriate JDK version for your needs. Factors to consider include:
- Project Requirements: Specific projects may necessitate compatibility with a particular JDK version. Consult project documentation or team guidelines for guidance.
- Long-Term Support: Opt for a JDK version with extended support, ensuring access to updates, bug fixes, and security patches for a longer duration.
- Personal Preference: While newer versions often introduce enhancements, established developers may find comfort in sticking with familiar versions.
Downloading the JDK
The official source for JDK downloads is Oracle’s website: https://www.oracle.com/java/technologies/javase-downloads.html.
- Navigate to the Downloads Page: Visit the link above and locate the "Java SE Development Kit" section.
- Select the Appropriate Version: Choose the JDK version that aligns with your project requirements and preferences. Be mindful of the licensing terms associated with different versions.
- Accept the License Agreement: Read and accept the Oracle Binary Code License Agreement.
- Download the Installer: Download the appropriate installer for your Windows 10 64-bit system.
Installing the JDK
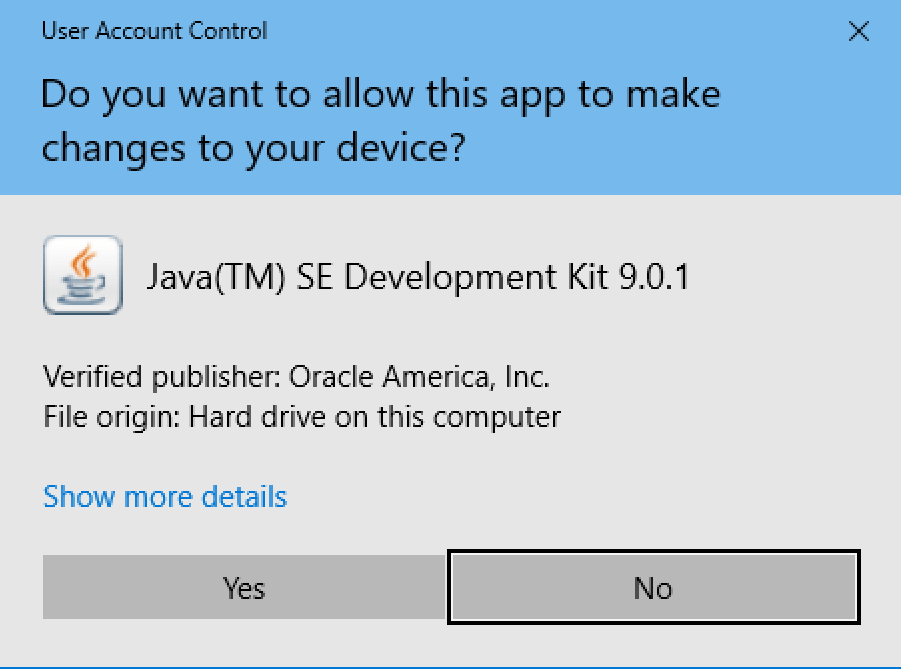
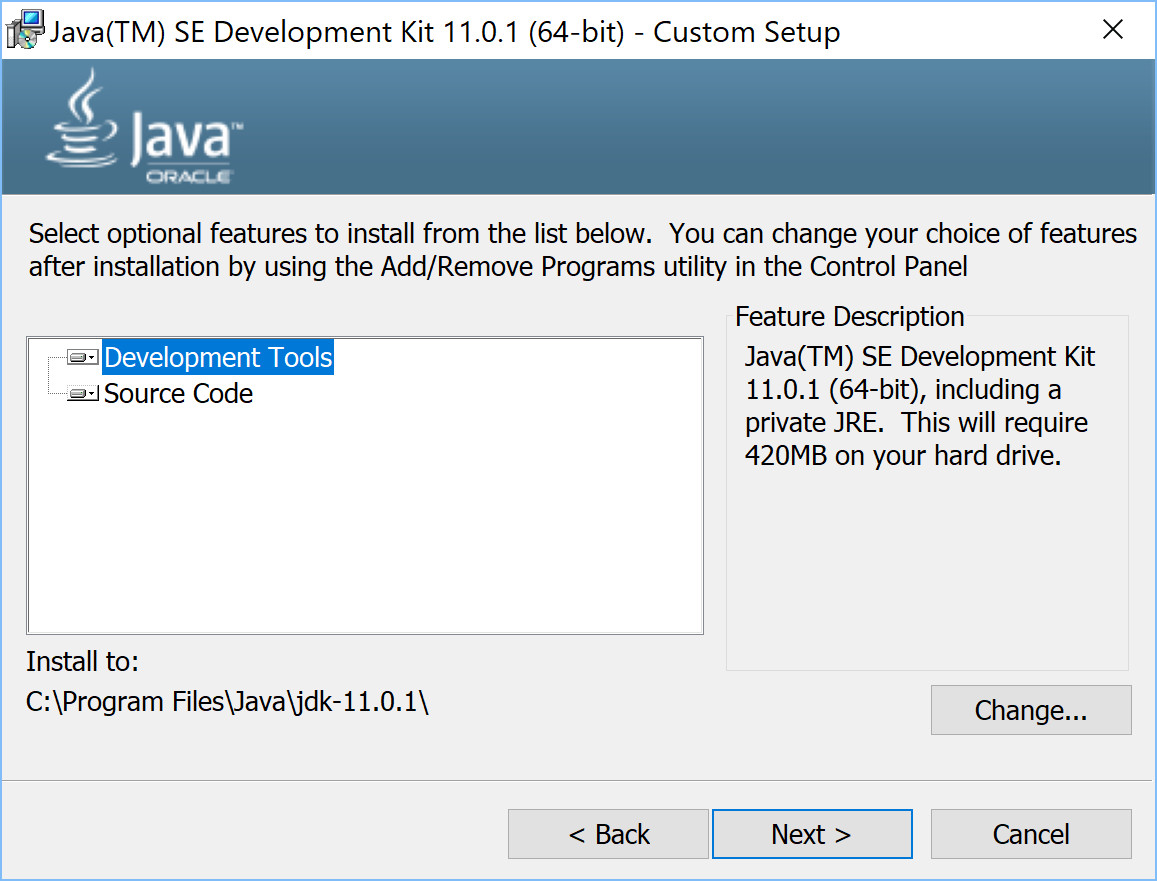
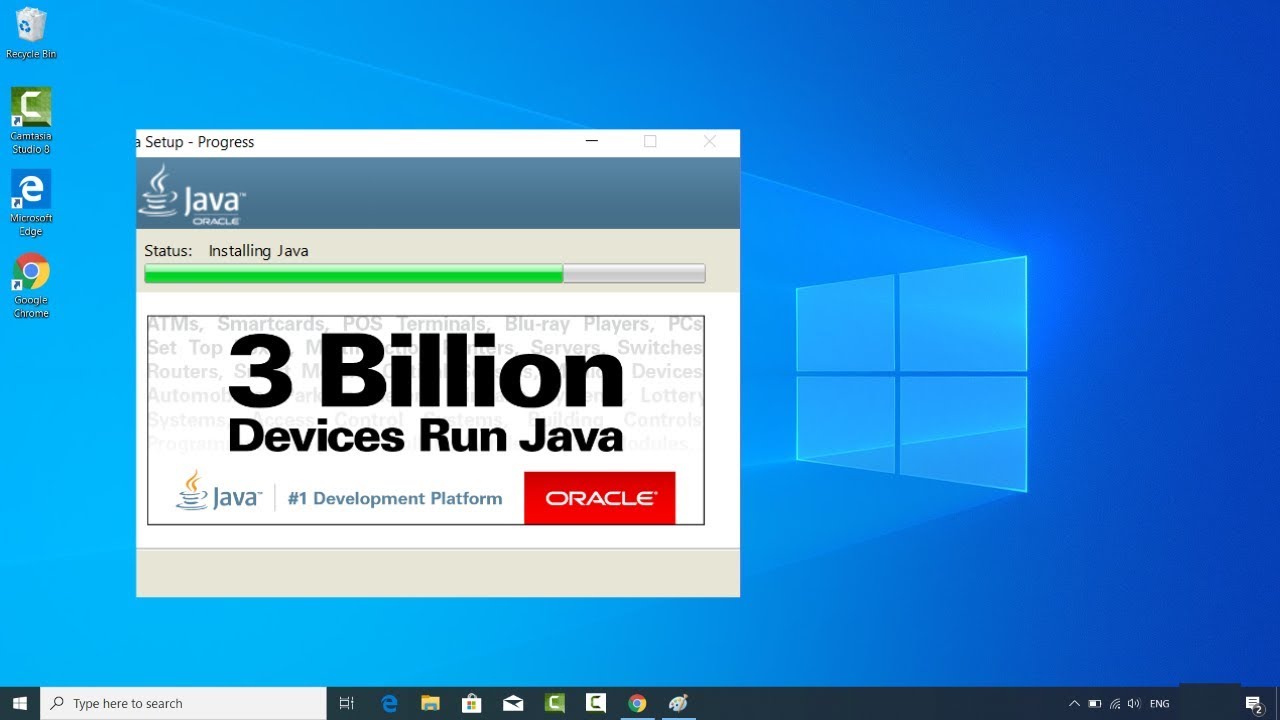
- Run the Installer: Double-click the downloaded installer file to initiate the installation process.
- Follow the On-Screen Instructions: The installer will guide you through a series of steps. Ensure you choose a suitable installation directory, ideally a location that is easily accessible and organized.
- Customize Installation Options: The installer may offer options to customize the installation, such as selecting components or setting environment variables. It’s generally recommended to accept the default settings unless you have specific requirements.
- Complete the Installation: Once the installation is complete, you will have the JDK installed on your system.
Verifying the Installation
To confirm the successful installation of the JDK, follow these steps:
- Open the Command Prompt: Press the Windows key and type "cmd." Right-click on the "Command Prompt" option and select "Run as administrator."
-
Execute the
javacCommand: Typejavac -versionand press Enter. If the JDK is installed correctly, you should see the version information displayed in the console. -
Execute the
javaCommand: Typejava -versionand press Enter. You should see the version information displayed in the console, confirming the presence of the JVM.
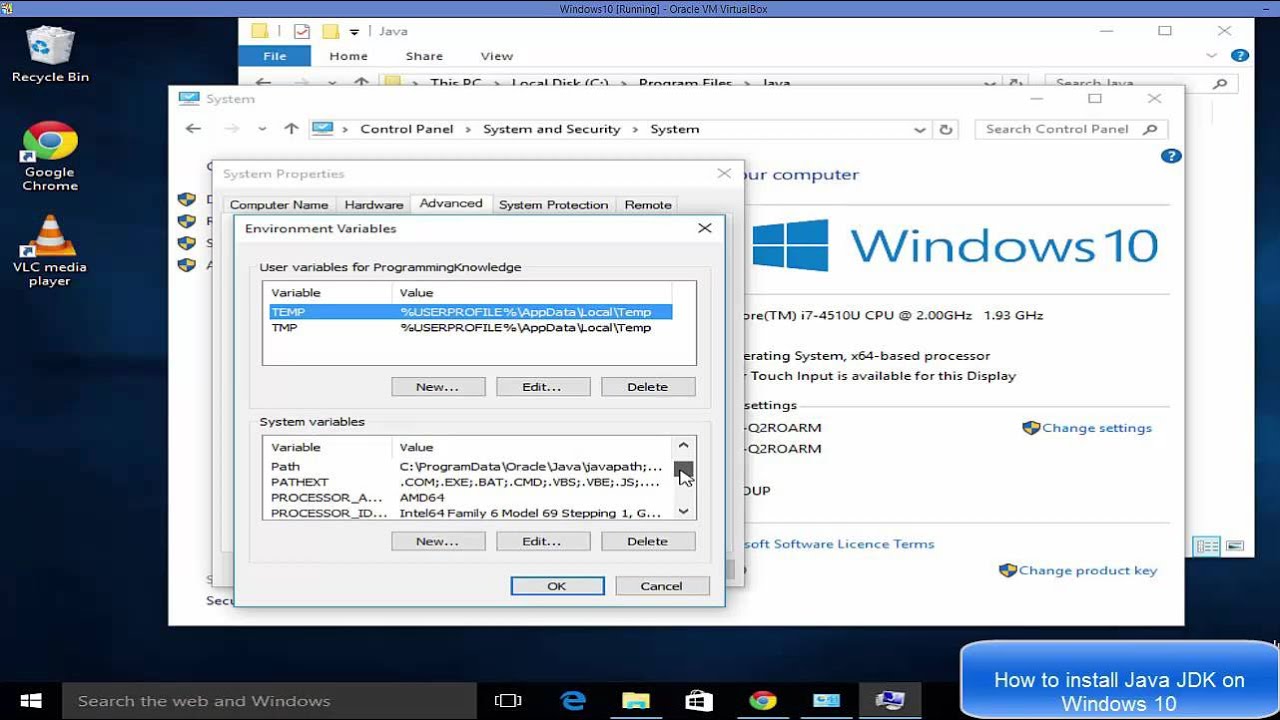
Setting Up Environment Variables
While not strictly necessary, setting up environment variables simplifies working with the JDK. This allows you to execute Java commands from any location in your command prompt without specifying the full path to the JDK directory.
- Access System Properties: Search for "environment variables" in the Windows search bar and open the "Edit the system environment variables" option.
- Create a New System Variable: Click on "New" under "System variables."
-
Variable Name: Enter
JAVA_HOME. -
Variable Value: Enter the path to your JDK installation directory (e.g.,
C:Program FilesJavajdk-17.0.1). -
Modify the
PathVariable: Select the "Path" variable and click on "Edit." -
Add a New Path: Click on "New" and enter
%JAVA_HOME%bin. This adds the JDK’sbindirectory to your system’s path, making thejavacandjavacommands accessible from anywhere. - Apply Changes: Click "OK" to save the changes.
Testing the Environment
After setting up environment variables, it’s essential to verify their functionality. Reopen a new command prompt window and execute the javac and java commands as described previously. If the commands execute successfully, your environment is properly configured.
Understanding the JDK’s Components
The JDK is a multifaceted toolset, containing numerous components that facilitate Java development. Some notable components include:
- Javadoc: A documentation generator that creates HTML documentation from Java source code comments.
- JDB: A Java debugger that helps developers identify and resolve errors in their code.
- JConsole: A monitoring and management tool for Java applications.
- JVisualVM: A visual tool for profiling and troubleshooting Java applications.
Exploring Java Development Tools
While the JDK provides the fundamental tools for Java development, a vast ecosystem of third-party tools and IDEs (Integrated Development Environments) enhances the development experience. Popular choices include:
- Eclipse: A mature and widely used IDE offering comprehensive features for Java development.
- IntelliJ IDEA: A powerful IDE known for its intelligent code completion, refactoring capabilities, and robust debugging tools.
- NetBeans: Another feature-rich IDE that provides a user-friendly interface and supports various programming languages.
Utilizing the JDK for Java Development
Once the JDK is installed and your environment is set up, you can start developing Java applications. The process typically involves:
-
Writing Java Code: Create a new
.javafile using a text editor or an IDE. -
Compiling the Code: Use the
javaccommand to compile your Java code into bytecode. -
Running the Compiled Code: Use the
javacommand to execute your Java application.
FAQs Regarding JDK Installation on Windows 10 64-bit
Q: What is the difference between JDK and JRE?
A: The Java Runtime Environment (JRE) is a subset of the JDK, containing the JVM and essential libraries necessary to run Java applications. The JDK, on the other hand, includes additional tools and libraries required for development, such as the compiler and debugger.
Q: Can I install multiple JDK versions on the same machine?
A: Yes, you can install multiple JDK versions on the same machine. However, it’s important to manage environment variables carefully to ensure that the correct JDK version is used for specific projects.
Q: How do I update the JDK after installation?
A: Oracle releases updates and security patches for the JDK regularly. You can download the latest updates from the Oracle website and follow the installation instructions to update your existing JDK.
Q: Can I uninstall the JDK if I no longer need it?
A: Yes, you can uninstall the JDK using the Windows Control Panel. However, ensure that no projects or applications are currently relying on the JDK before proceeding with the uninstallation.
Tips for Successful JDK Installation
- Use a Dedicated Installation Directory: Avoid installing the JDK in a system directory or a location with limited access. Choose a clear and easily accessible directory for your JDK installation.
- Back Up Your System Before Installation: While the JDK installation is generally safe, it’s always a good practice to create a system backup before installing new software.
- Read the Documentation: The JDK documentation provides comprehensive information on installation, configuration, and troubleshooting.
- Test Thoroughly: After installation, verify that the JDK is working correctly by executing simple Java programs and checking for any errors.
Conclusion
Installing the JDK on a Windows 10 64-bit system is a crucial step for embarking on a Java development journey. By understanding the significance of the JDK, choosing the appropriate version, and following the installation and configuration steps outlined in this guide, you will be well-equipped to leverage the power of Java for building robust and innovative applications. The JDK, with its essential tools and libraries, serves as the foundation for a vast and thriving ecosystem, empowering developers to create solutions that address a wide range of challenges across diverse domains.


Closure
Thus, we hope this article has provided valuable insights into Navigating the Java Ecosystem: A Comprehensive Guide to Installing JDK on Windows 10 64-bit. We appreciate your attention to our article. See you in our next article!