Navigating The Java Development Kit: A Comprehensive Guide To Downloading For Windows 10 64-bit
Navigating the Java Development Kit: A Comprehensive Guide to Downloading for Windows 10 64-bit
Related Articles: Navigating the Java Development Kit: A Comprehensive Guide to Downloading for Windows 10 64-bit
Introduction
In this auspicious occasion, we are delighted to delve into the intriguing topic related to Navigating the Java Development Kit: A Comprehensive Guide to Downloading for Windows 10 64-bit. Let’s weave interesting information and offer fresh perspectives to the readers.
Table of Content
Navigating the Java Development Kit: A Comprehensive Guide to Downloading for Windows 10 64-bit
The Java Development Kit (JDK) is a cornerstone for Java developers, providing the essential tools and libraries needed to create, compile, and run Java applications. This article offers a comprehensive guide to downloading and installing the JDK for Windows 10 64-bit systems, emphasizing its significance in the world of Java development.
Understanding the JDK’s Role in Java Development
The JDK is a powerful suite that encompasses the Java Runtime Environment (JRE), the Java compiler, and other crucial tools. The JRE, a subset of the JDK, provides the environment for executing Java applications. The compiler, on the other hand, translates Java source code into bytecode, the language understood by the Java Virtual Machine (JVM).
The Importance of the JDK for Windows 10 64-bit Systems
Windows 10, a dominant operating system, offers a robust platform for Java development. Utilizing the 64-bit version of the JDK ensures maximum performance and compatibility for modern applications. This is particularly vital for handling large datasets and complex computations, leveraging the full potential of the system’s resources.
Downloading the JDK: A Step-by-Step Guide
-
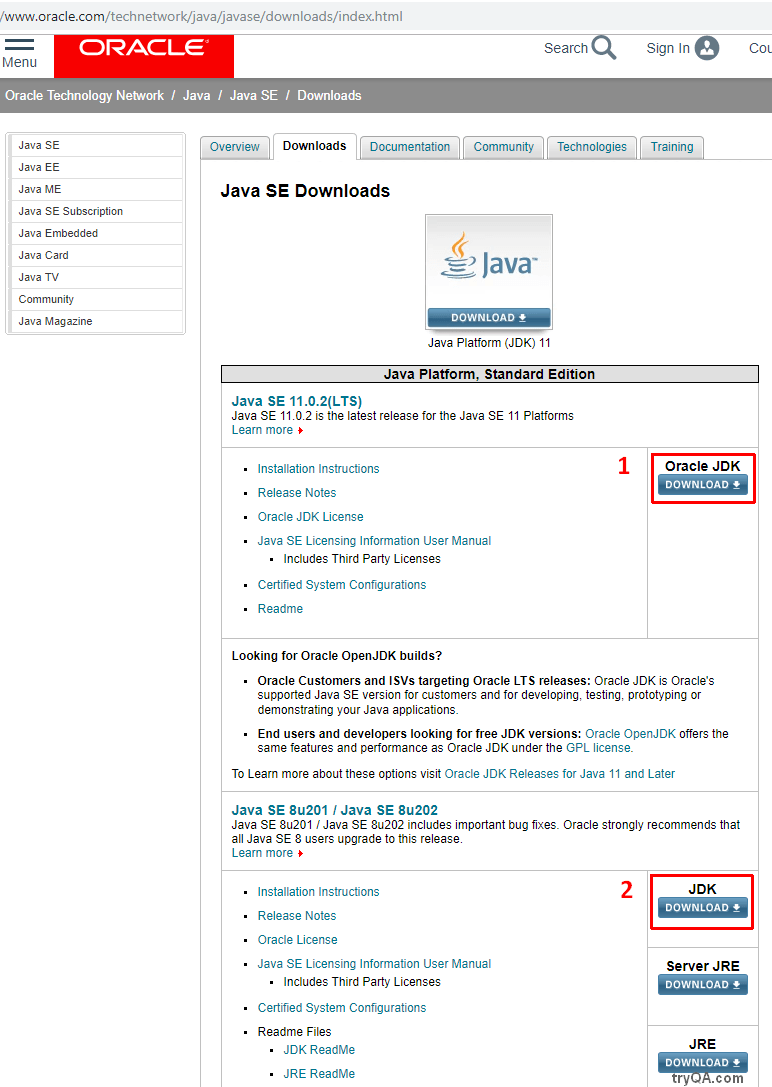
Visit the Oracle Java Website: Navigate to the official Oracle Java website, the primary source for JDK downloads.
-
Locate the Latest JDK Release: Look for the "Downloads" section and identify the latest stable release of the JDK.
-
Select the Windows 64-bit Version: Choose the "Windows x64" option from the available download options.
-
Accept the License Agreement: Carefully read and agree to the Oracle Technology Network License Agreement.
-
Download the Installer: Initiate the download process and save the installer file to your preferred location.
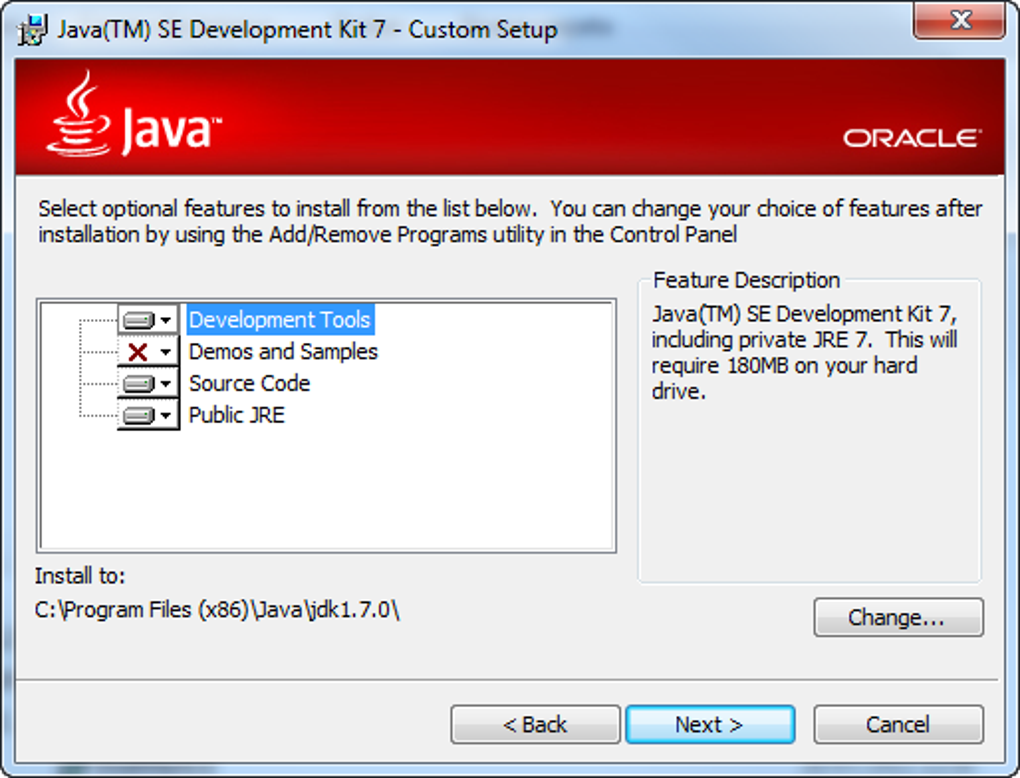
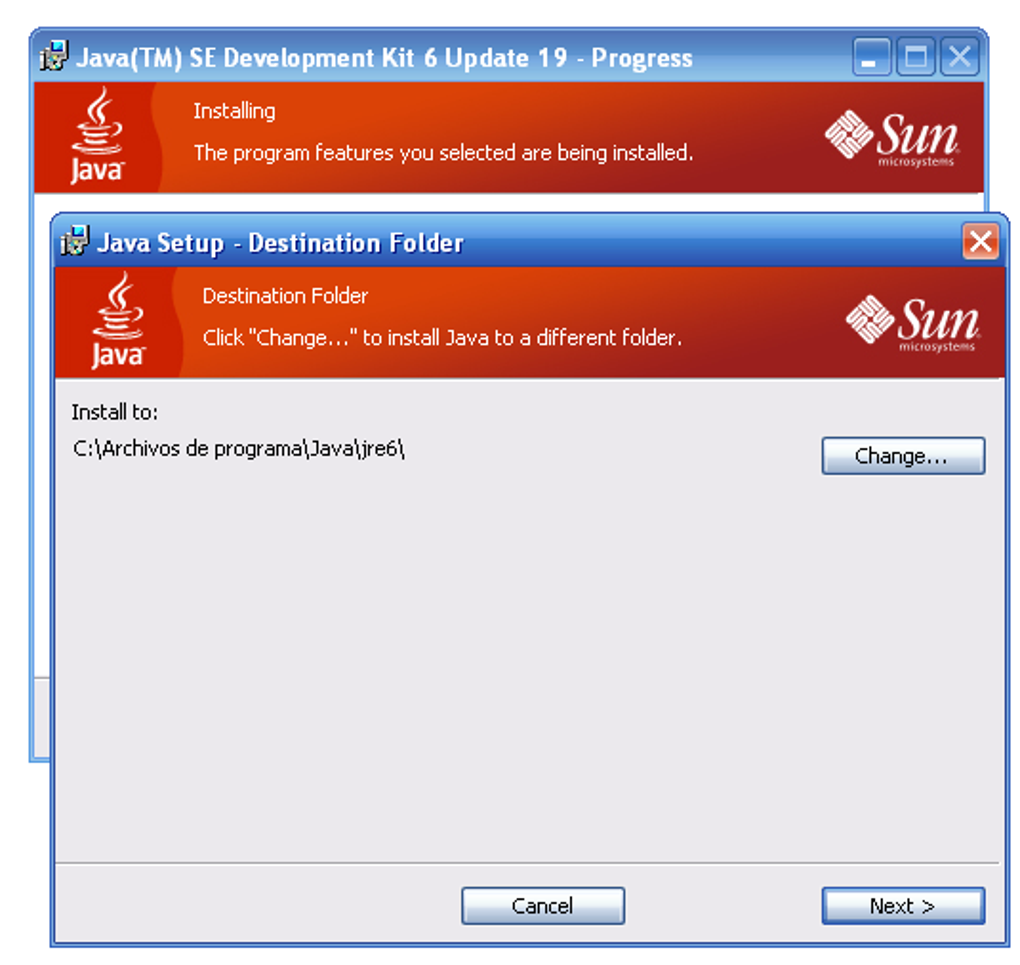
Installation Process: A Simple Walkthrough
-
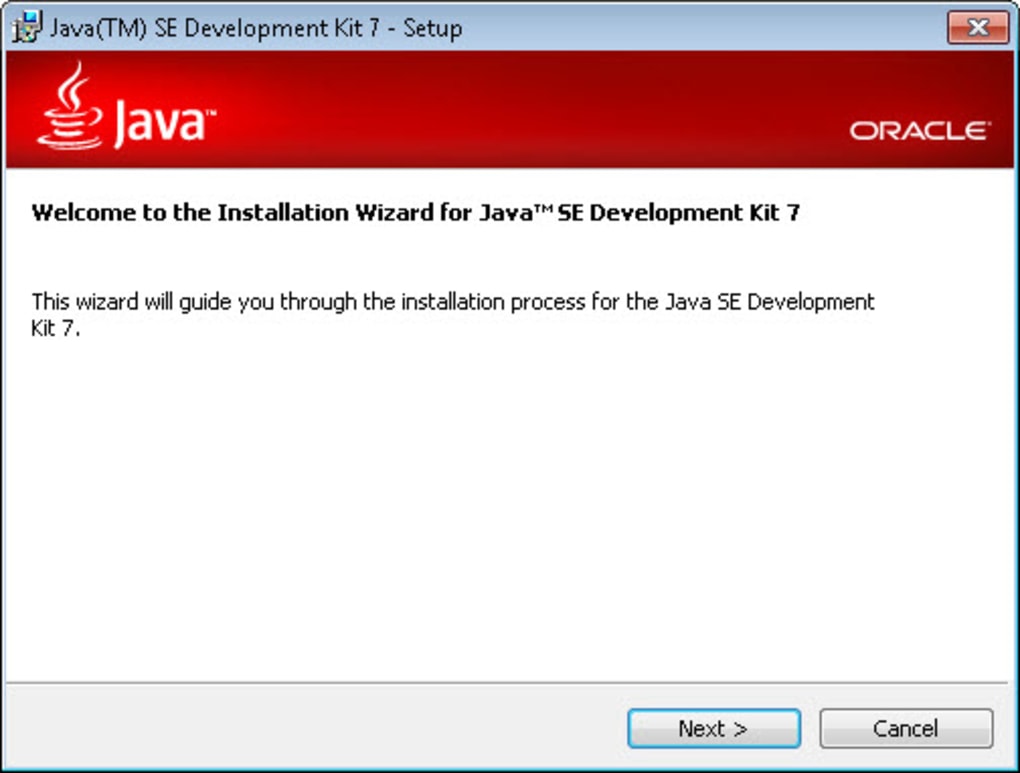
Run the Installer: Double-click the downloaded installer file to launch the setup wizard.
-
Follow the On-Screen Instructions: Adhere to the instructions provided by the wizard, selecting the desired installation location and other preferences.
-
Accept the Default Settings (Optional): Unless you have specific requirements, accepting the default settings is generally recommended.
-
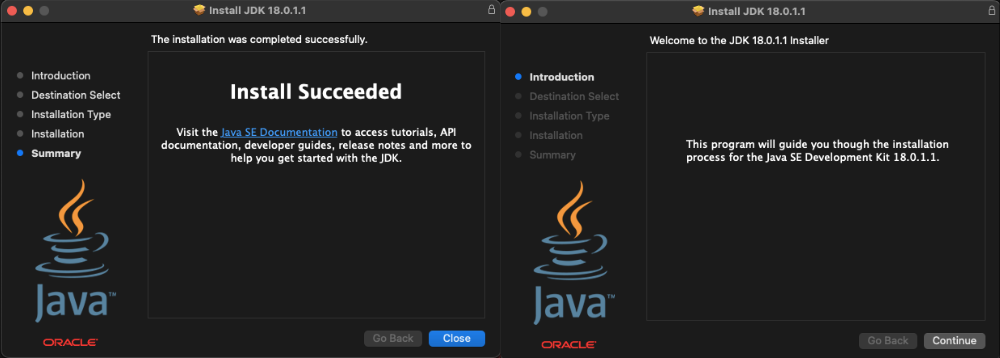
Complete the Installation: The installation process will complete automatically, after which you can verify the successful installation.
Setting up the Environment Variables: Essential for Development
After installation, configuring environment variables is crucial to enable the system to recognize and utilize the JDK.
-
Access System Properties: Search for "System" in the Windows search bar and select "System" from the results.
-
Navigate to Advanced System Settings: Click on "Advanced system settings" in the left-hand pane.
-
Open Environment Variables: In the "System Properties" window, click on "Environment Variables."
-
Modify the "Path" Variable: Locate the "Path" variable under "System variables" and click "Edit."
-
Add the JDK’s bin Directory: Click "New" and add the path to the "bin" directory of your installed JDK. This is typically located in a folder like "C:Program FilesJavajdk-versionbin."
-
Apply Changes: Click "OK" on all open windows to apply the changes.
Testing the Installation: Ensuring Functionality
To verify that the JDK is installed correctly and the environment variables are configured properly, run a simple test.
-
Open a Command Prompt: Press the "Windows key" + "R," type "cmd," and press "Enter."
-
Execute the "javac" Command: Type "javac" and press "Enter." This command should display information about the Java compiler.
-
Execute the "java" Command: Type "java" and press "Enter." This command should display information about the Java runtime environment.
If both commands execute successfully, the JDK is installed and configured correctly.
FAQs: Addressing Common Queries
Q: What is the difference between the JDK and the JRE?
A: The JDK is a comprehensive development kit that includes the JRE, along with tools for compiling and debugging Java applications. The JRE, on the other hand, is a runtime environment that allows you to execute Java programs.
Q: Do I need to download the JDK if I only need to run Java applications?
A: No, if you only need to run Java applications, downloading the JRE is sufficient. The JRE provides the necessary components for executing Java programs without the development tools included in the JDK.
Q: Can I install multiple JDK versions on the same system?
A: Yes, you can install multiple JDK versions on the same system. However, it’s crucial to configure the environment variables correctly to specify which version you want to use for your projects.
Q: What are the best practices for managing multiple JDK versions?
A: Consider using a tool like jEnv or SDKMAN! for managing multiple JDK versions. These tools provide a convenient way to switch between different JDK versions without manually modifying environment variables.
Q: Why is the 64-bit JDK preferred for Windows 10?
A: The 64-bit JDK offers better performance and compatibility with modern applications, especially those handling large datasets and complex computations. It leverages the full capabilities of the system’s resources, ensuring optimal execution.
Tips for Successful JDK Installation and Use
-
Always Download from Official Sources: Download the JDK exclusively from the official Oracle Java website to ensure authenticity and security.
-
Keep Your JDK Up-to-Date: Regularly check for updates and install the latest version of the JDK to benefit from bug fixes, performance improvements, and new features.
-
Use a Version Control System: Employ a version control system like Git to manage your code and track changes, facilitating collaboration and seamless updates.
-
Familiarize Yourself with Java Documentation: Utilize the comprehensive Java documentation to learn about the language’s features, libraries, and APIs.
-
Explore Java Development Tools: Explore various Java development tools like Eclipse, IntelliJ IDEA, and NetBeans to enhance your coding experience.
Conclusion: The JDK’s Indispensable Role in Java Development
The JDK, particularly the 64-bit version for Windows 10, serves as the foundation for Java development. By providing essential tools and libraries, it empowers developers to create robust and innovative Java applications. Understanding the importance of the JDK, mastering its installation and configuration, and adopting best practices for its use are crucial for embarking on a successful journey in the world of Java programming.


Closure
Thus, we hope this article has provided valuable insights into Navigating the Java Development Kit: A Comprehensive Guide to Downloading for Windows 10 64-bit. We hope you find this article informative and beneficial. See you in our next article!