Managing Access And Permissions In Windows 11: A Comprehensive Guide To Local Users And Groups
Managing Access and Permissions in Windows 11: A Comprehensive Guide to Local Users and Groups
Related Articles: Managing Access and Permissions in Windows 11: A Comprehensive Guide to Local Users and Groups
Introduction
With enthusiasm, let’s navigate through the intriguing topic related to Managing Access and Permissions in Windows 11: A Comprehensive Guide to Local Users and Groups. Let’s weave interesting information and offer fresh perspectives to the readers.
Table of Content
- 1 Related Articles: Managing Access and Permissions in Windows 11: A Comprehensive Guide to Local Users and Groups
- 2 Introduction
- 3 Managing Access and Permissions in Windows 11: A Comprehensive Guide to Local Users and Groups
- 3.1 Understanding the Basics: Users and Groups
- 3.2 The Importance of Local Users and Groups
- 3.3 Types of Local Users and Groups
- 3.4 Managing Local Users and Groups
- 3.5 Frequently Asked Questions
- 3.6 Tips for Effective User and Group Management
- 3.7 Conclusion
- 4 Closure
Managing Access and Permissions in Windows 11: A Comprehensive Guide to Local Users and Groups
Windows 11, like its predecessors, relies on a robust system of local users and groups to manage access and permissions to the operating system and its resources. This structure, while seemingly complex, provides a powerful and flexible mechanism for controlling who can do what on a computer. This article delves into the intricacies of local users and groups in Windows 11, explaining their purpose, functionalities, and practical applications.
Understanding the Basics: Users and Groups
At the core of Windows 11’s access management system lies the concept of users. A user represents a distinct individual who interacts with the computer. Each user has a unique account, characterized by a username and password, which grants them access to specific resources based on their assigned permissions.
However, managing individual permissions for every user can be tedious. This is where groups come into play. Groups are collections of users that share similar access rights. By assigning permissions to a group, administrators can simultaneously control the privileges of all its members. This simplifies the management process and ensures consistency across user accounts.
The Importance of Local Users and Groups
Local users and groups play a crucial role in securing Windows 11 systems. They provide a structured framework for managing access to sensitive data, applications, and system settings. By carefully defining user permissions and group memberships, administrators can:
- Control access to critical system files and folders: Prevent unauthorized modifications or deletions of vital system components.
- Restrict access to sensitive data: Protect confidential information by limiting access to specific users or groups.
- Enforce security policies: Implement organizational policies by assigning specific permissions based on roles and responsibilities.
- Simplify user management: Streamline the process of adding, removing, and modifying user accounts by leveraging group memberships.
Types of Local Users and Groups
Windows 11 recognizes various types of local users and groups, each serving a specific purpose:
1. Standard Users:
- Permissions: Limited access to system settings and files. Can install and use applications but cannot modify system configurations.
- Purpose: Ideal for everyday users who need access to common applications and files but not system administration tasks.
2. Administrators:
- Permissions: Full control over the system. Can install, modify, and delete software; change system settings; and manage user accounts.
- Purpose: Responsible for maintaining and securing the computer. Should only be used by trusted individuals.
3. Built-in Groups:
- Examples: Administrators, Users, Guests, Power Users
- Purpose: Predefined groups with specific default permissions. Offer a convenient starting point for managing user access.
4. Custom Groups:
- Purpose: Created by administrators to organize users based on specific roles or needs.
- Flexibility: Allows for tailored permissions and access control based on organizational requirements.
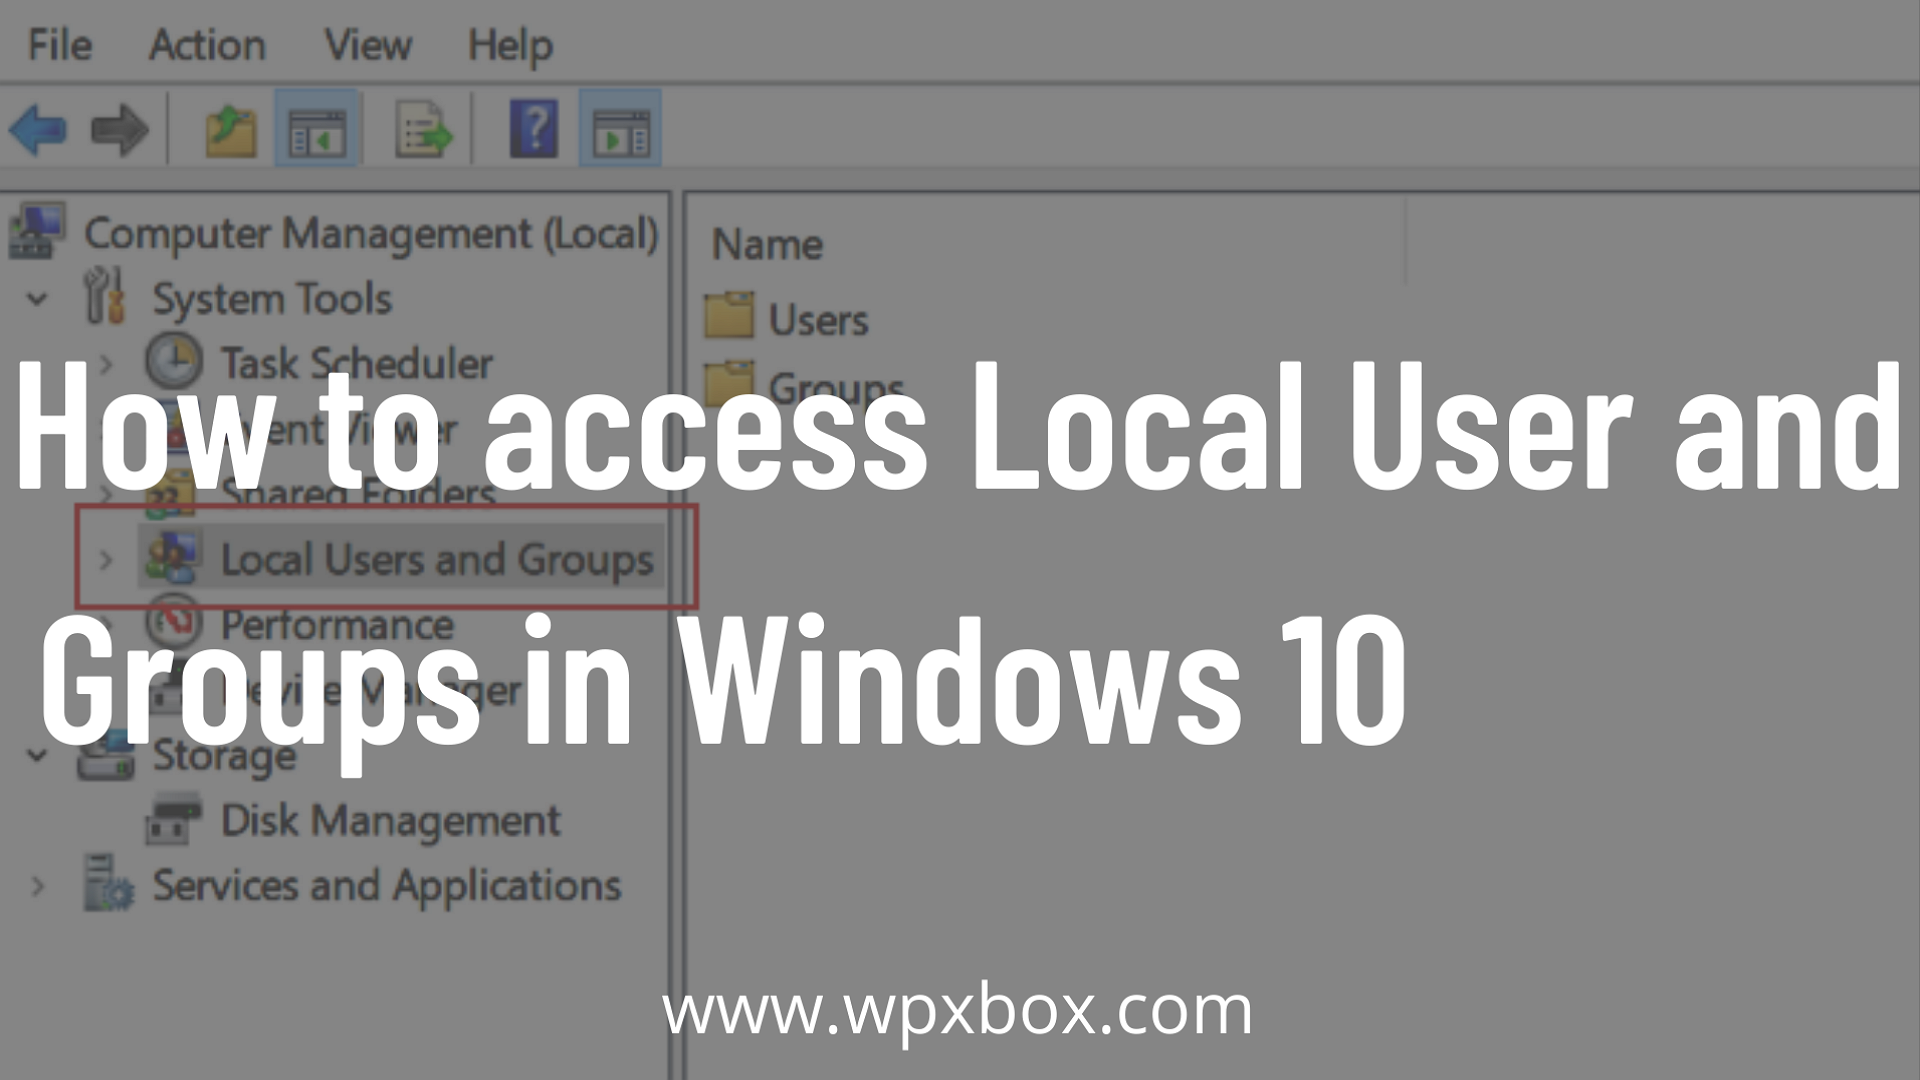
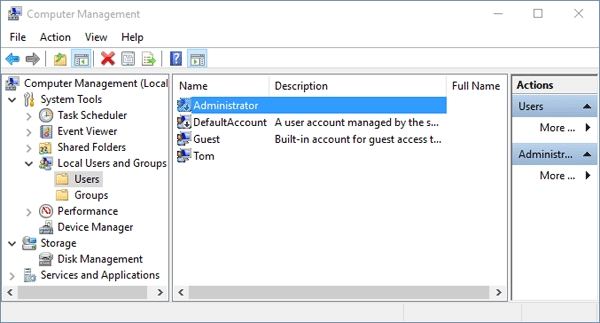
Managing Local Users and Groups
Windows 11 provides a user-friendly interface for managing local users and groups. This can be accessed through the Control Panel or the Settings app.
1. Creating Users:
- Navigate to Control Panel > User Accounts > Manage another account.
- Click on Add a new user to this PC.
- Enter the desired username, password, and account type.
- Choose the appropriate group memberships.
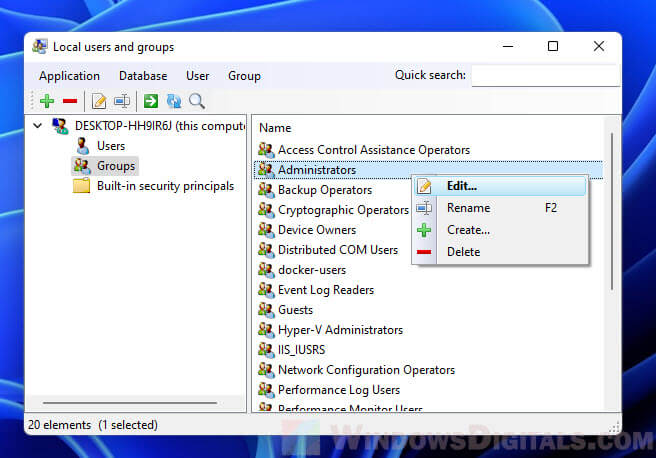
2. Creating Groups:
- Navigate to Control Panel > User Accounts > Manage another account.
- Click on Create a new group.
- Assign a name to the group and select the appropriate permissions.
3. Managing User Accounts:
- Access the Control Panel > User Accounts > Manage another account.
- Select the user account you wish to modify.
- Change password, account type, or group memberships as required.
4. Managing Group Memberships:
- Navigate to Control Panel > User Accounts > Manage another account.
- Select the group you wish to modify.
- Add or remove users from the group as needed.
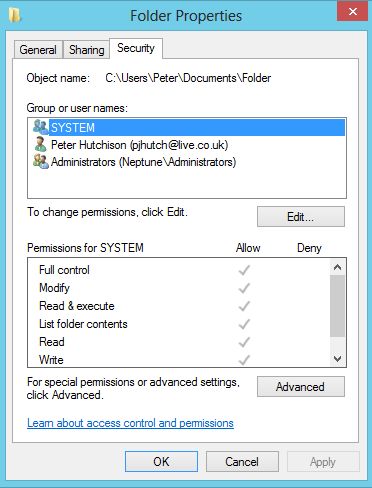
5. Assigning Permissions:
- Navigate to the folder or file you want to control access to.
- Right-click and select Properties.
- Go to the Security tab.
- Click on Edit.
- Select the user or group you want to grant permissions to.
- Check the boxes for the desired permissions (Read, Write, Full Control, etc.).
Frequently Asked Questions
Q: What is the difference between a local user and a domain user?
A: A local user is associated with a specific computer and has access limited to that machine. A domain user is part of a network domain and has access to resources within the domain.
Q: Can I create a local user on a computer joined to a domain?
A: Yes, you can create local users on a domain-joined computer. However, they will not have access to domain resources and will be limited to the local computer.
Q: How do I reset a forgotten password for a local user account?
A: You can reset a forgotten password by using the Windows Password Reset Disk or by booting into Safe Mode and accessing the Administrator account.
Q: Is it safe to use the Administrator account for daily tasks?
A: No, it is not recommended to use the Administrator account for daily tasks. This account has full control over the system and is vulnerable to malware and attacks.
Q: What are some best practices for managing local users and groups?
A: It is recommended to:
- Use strong passwords and enable password complexity settings.
- Limit administrative privileges to only essential users.
- Regularly review user accounts and group memberships.
- Implement a password policy that enforces regular password changes.
- Use a password manager to securely store and manage passwords.
Tips for Effective User and Group Management
- Document user account information: Keep a record of usernames, passwords, and group memberships for easy reference.
- Use clear naming conventions: Make it easy to identify users and groups based on their names.
- Create specific groups for different roles: Avoid assigning too many permissions to a single group.
- Regularly audit user accounts: Ensure that all user accounts are still necessary and have appropriate permissions.
- Implement multi-factor authentication: Enhance security by requiring users to provide multiple forms of authentication.
Conclusion
Local users and groups form the foundation of Windows 11’s access control system. By effectively managing these entities, administrators can ensure the security and stability of their systems. Implementing best practices and following the guidelines outlined in this article will help organizations optimize their user management strategies and protect their valuable data and resources.

Closure
Thus, we hope this article has provided valuable insights into Managing Access and Permissions in Windows 11: A Comprehensive Guide to Local Users and Groups. We thank you for taking the time to read this article. See you in our next article!