Enabling Japanese Input On Windows 11: A Comprehensive Guide
Enabling Japanese Input on Windows 11: A Comprehensive Guide
Related Articles: Enabling Japanese Input on Windows 11: A Comprehensive Guide
Introduction
With great pleasure, we will explore the intriguing topic related to Enabling Japanese Input on Windows 11: A Comprehensive Guide. Let’s weave interesting information and offer fresh perspectives to the readers.
Table of Content
Enabling Japanese Input on Windows 11: A Comprehensive Guide
The ability to input Japanese characters on Windows 11 is essential for users engaged in Japanese language learning, professional communication, or simply enjoying Japanese content. This guide provides a comprehensive overview of the process, covering various methods for installing and configuring Japanese language support, addressing potential challenges, and offering valuable tips for optimal usage.
Understanding the Need for Japanese Input
Windows 11, by default, may not include Japanese language support. This means users will be unable to type Japanese characters directly using their keyboard. To overcome this limitation, one must install and configure the necessary language input tools. These tools enable the translation of keyboard strokes into Japanese characters, facilitating seamless communication and content creation.
Methods for Installing Japanese Language Support
There are two primary methods for enabling Japanese input on Windows 11:
-
Using Windows Settings:
- Access Settings: Navigate to "Settings" by clicking the gear icon in the Start menu or pressing Windows key + I.
- Select Time & Language: Within the Settings app, choose "Time & Language".
- Add a Language: Click on "Language" in the left pane, then select "Add a language".
- Choose Japanese: From the list of languages, locate and select "Japanese".
- Install Language Pack: Windows will prompt you to install the Japanese language pack. Click "Install" to download and install the necessary components.
-
Utilizing the Language Bar:
- Enable Language Bar: Right-click on the taskbar and select "Taskbar settings".
- Toggle Language Bar: Within the Taskbar settings, locate "Language bar" and ensure it is toggled on.
- Add Japanese: Click on the language bar icon (usually a globe) and select "Add a language".
- Choose Japanese: From the list of languages, select "Japanese".
- Install Language Pack: Similar to the previous method, Windows will prompt you to install the Japanese language pack. Click "Install" to proceed.
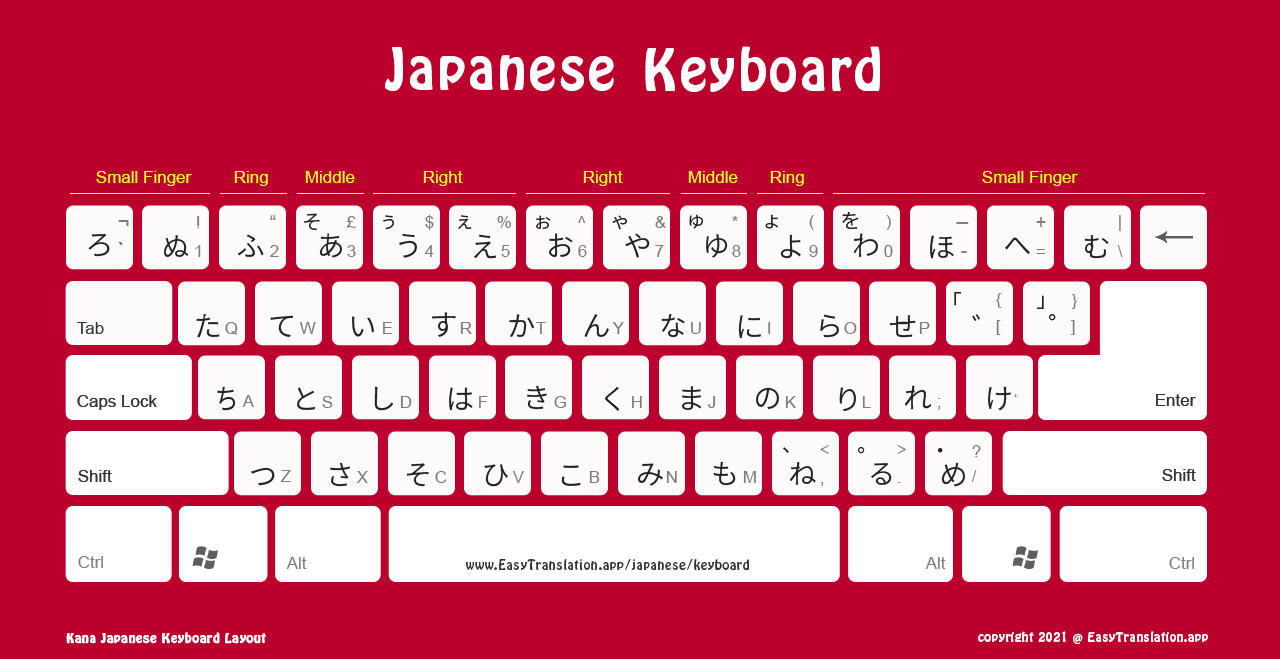
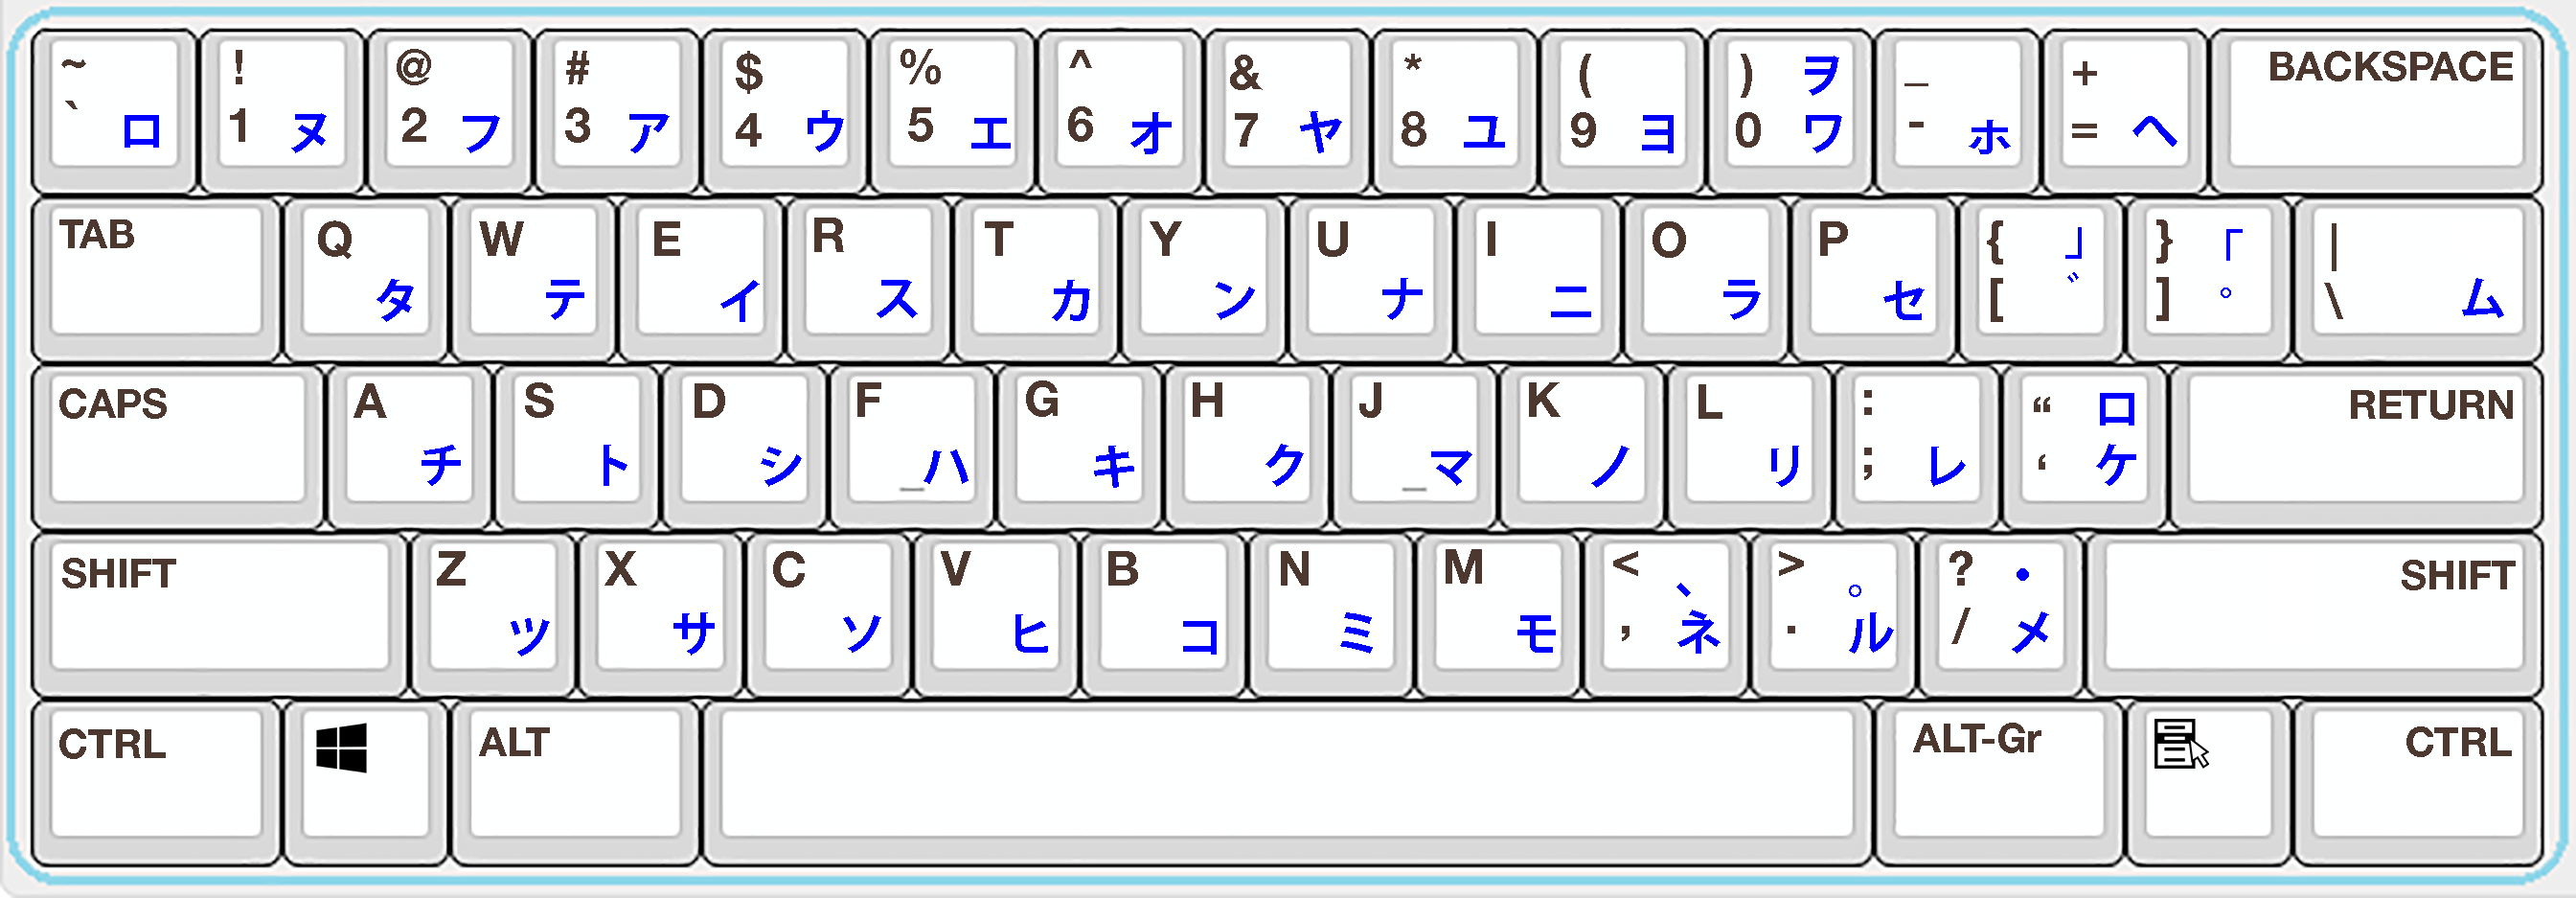
Configuring Japanese Keyboard Layout
After installing the Japanese language pack, you must configure the keyboard layout to enable Japanese input.
- Access Language Settings: Click on the language bar icon and choose "Language settings".
- Select Japanese: Within the Language settings, select "Japanese".
- Keyboard Options: Click on "Keyboard options" to view available keyboard layouts.
- Choose Layout: Select the desired Japanese keyboard layout. The most common options are "Microsoft IME" and "Google Japanese Input".
Using Japanese Input Methods
Once the Japanese keyboard layout is selected, you can start typing Japanese characters. Different input methods are available, each with its own advantages:
-
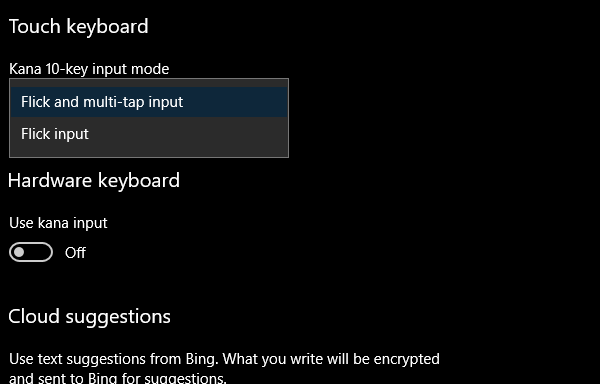
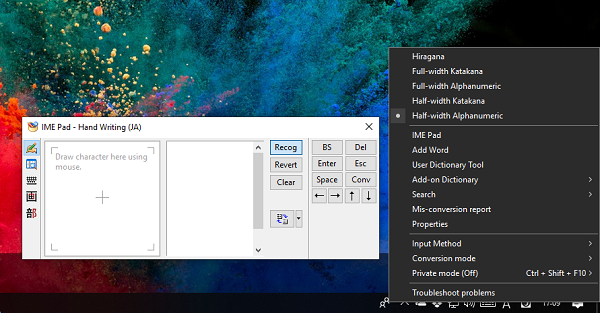
Microsoft IME (Input Method Editor): This is the default input method for Windows. It allows for various input techniques, including:
- Romaji: Typing Japanese characters using Roman alphabet letters.
- Kana: Typing Japanese characters using the Japanese syllabary.
- Kanji: Directly inputting Kanji characters using a search feature.
-
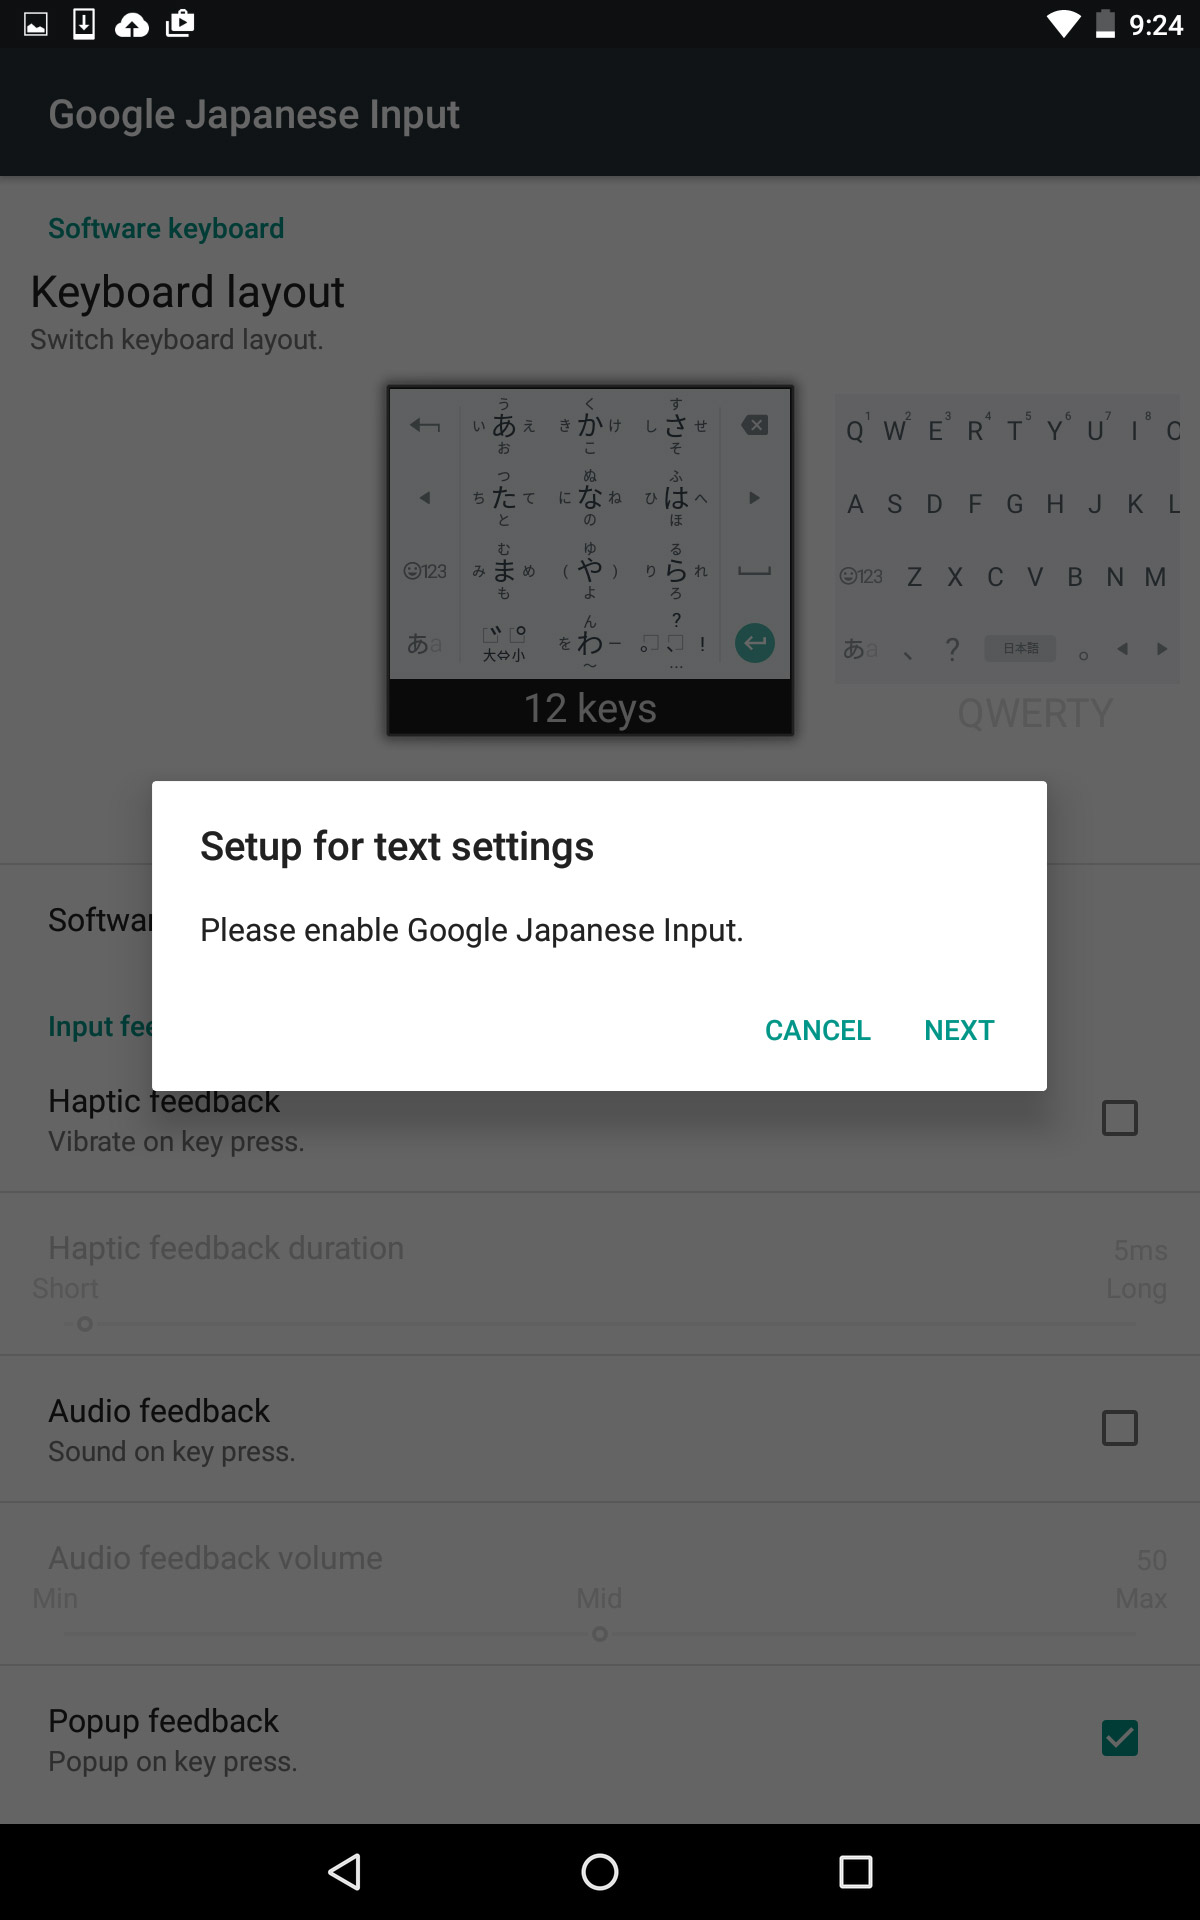
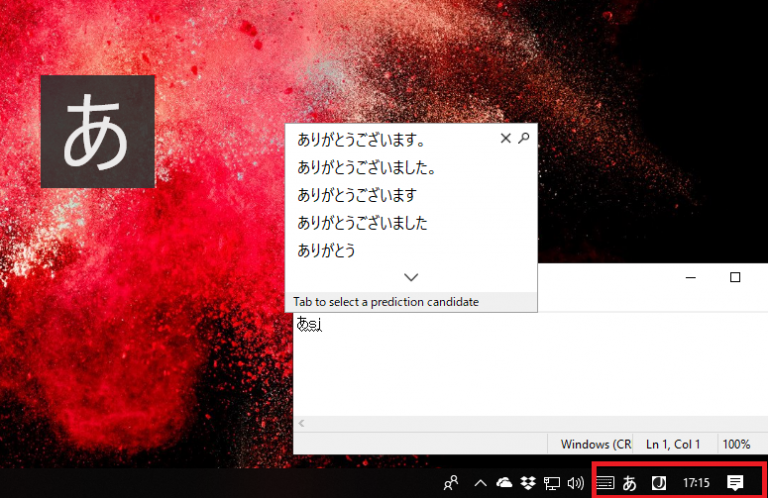
Google Japanese Input: This popular third-party input method offers a simplified interface and advanced features like:
- Prediction: Suggests possible words as you type.
- Auto-correction: Automatically corrects misspelled words.
- Cloud-based learning: Learns your typing habits and adapts to your preferences.
Troubleshooting Japanese Input Issues
Occasionally, users may encounter issues with Japanese input. Common problems include:
- Incorrect Keyboard Layout: Ensure that the correct Japanese keyboard layout is selected.
- Language Bar Not Active: Verify that the language bar is enabled and visible.
- Language Pack Not Installed: If the Japanese language pack is not installed, you will be unable to input Japanese characters.
- Conflicting Software: Some applications or software may interfere with Japanese input.
Resolving Input Issues:
- Check Keyboard Layout: Verify that the correct Japanese keyboard layout is selected in the Language settings.
- Enable Language Bar: If the language bar is not visible, enable it in Taskbar settings.
- Reinstall Language Pack: If the Japanese language pack is not installed, follow the instructions above to install it.
- Disable Conflicting Software: Temporarily disable any applications or software that might be interfering with Japanese input.
Tips for Optimal Japanese Input
- Practice Regularly: Frequent use of Japanese input methods will improve your speed and accuracy.
- Explore Input Methods: Experiment with different input methods to find the one that best suits your needs.
- Utilize Learning Resources: Online resources and tutorials can provide valuable insights into Japanese input methods and techniques.
- Customize Settings: Personalize your input settings to enhance your typing experience.
Conclusion
Enabling Japanese input on Windows 11 is a straightforward process that grants users the ability to interact with Japanese content and communication seamlessly. By following the instructions and troubleshooting tips outlined in this guide, users can confidently navigate the world of Japanese language and culture on their Windows 11 devices.
FAQs
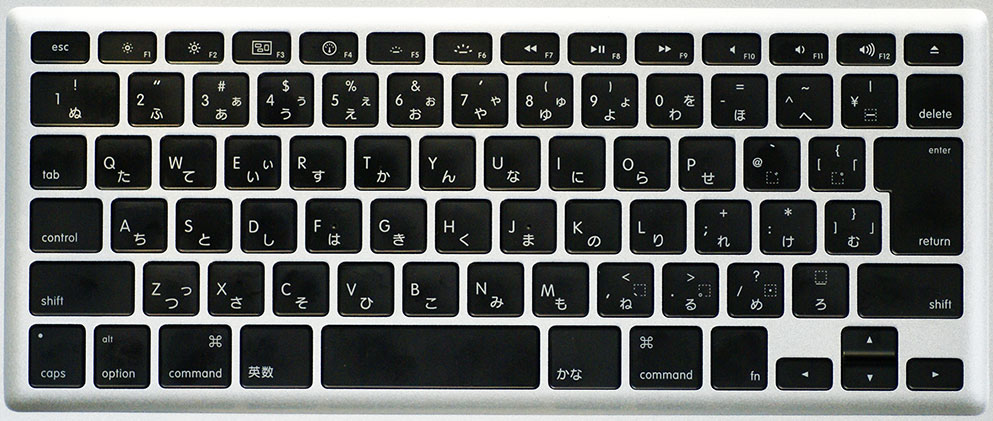
Q: Can I use a physical Japanese keyboard with Windows 11?
A: Yes, you can use a physical Japanese keyboard with Windows 11. However, ensure that the keyboard layout matches the layout you have selected in the Language settings.
Q: Is it possible to switch between Japanese and English input without changing the keyboard layout?
A: Yes, you can switch between Japanese and English input using the language bar. Simply click on the language bar icon and select the desired language.
Q: What are the advantages of using Google Japanese Input over Microsoft IME?
A: Google Japanese Input offers a more intuitive interface, advanced prediction and auto-correction features, and cloud-based learning capabilities, making it a popular choice for many users.
Q: Can I use Japanese input in all applications on Windows 11?
A: Generally, Japanese input should work in all applications that support Unicode character sets. However, some older applications may not be compatible with Japanese input.
Q: Is it possible to install multiple Japanese keyboard layouts?
A: Yes, you can install multiple Japanese keyboard layouts. This allows you to switch between different layouts depending on your needs.
Q: What are some good resources for learning Japanese input methods?
A: Online platforms like YouTube, Khan Academy, and Duolingo offer tutorials and resources for learning Japanese input methods. You can also find dedicated websites and forums for Japanese language learning.
Q: Can I use Japanese input on other operating systems besides Windows 11?
A: Yes, Japanese input is available on other operating systems such as macOS, Linux, and Android. The specific methods and configurations may vary depending on the operating system.


Closure
Thus, we hope this article has provided valuable insights into Enabling Japanese Input on Windows 11: A Comprehensive Guide. We thank you for taking the time to read this article. See you in our next article!