Consolidating Storage: A Guide To Managing Disk Volumes In Windows 11
Consolidating Storage: A Guide to Managing Disk Volumes in Windows 11
Related Articles: Consolidating Storage: A Guide to Managing Disk Volumes in Windows 11
Introduction
With great pleasure, we will explore the intriguing topic related to Consolidating Storage: A Guide to Managing Disk Volumes in Windows 11. Let’s weave interesting information and offer fresh perspectives to the readers.
Table of Content
Consolidating Storage: A Guide to Managing Disk Volumes in Windows 11
In the digital age, data storage needs are constantly evolving. As users accumulate more files, applications, and multimedia content, the demand for efficient and organized storage solutions becomes paramount. Windows 11, the latest iteration of Microsoft’s operating system, offers a robust disk management toolset, enabling users to effectively manage their storage space. One particularly useful feature is the ability to combine multiple disk volumes into a single, larger volume. This process, commonly referred to as "merging disk volumes," can significantly enhance storage management, providing numerous benefits for users.
Understanding Disk Volumes and Their Importance
Before delving into the intricacies of merging disk volumes, it’s essential to grasp the concept of disk volumes themselves. In essence, a disk volume represents a logical partition on a physical storage device, such as a hard drive or solid-state drive (SSD). These volumes are essentially containers for storing data, allowing users to organize their files and applications into distinct units.
Windows 11, by default, typically creates multiple disk volumes during installation. The system volume, often labeled as "C: drive," houses the operating system and core system files. Additional volumes, such as "D: drive" or "E: drive," may be created for user data, applications, or other specific purposes.
The Advantages of Merging Disk Volumes
Combining multiple disk volumes into a single, larger volume offers several advantages, making it a valuable tool for optimizing storage management.
-
Increased Storage Capacity: By merging existing volumes, users can effectively consolidate their storage space, creating a larger, contiguous volume. This eliminates the limitations of individual volumes, providing ample room for storing growing data collections.
-
Simplified Storage Management: Having a single, unified volume simplifies storage management tasks. Users no longer need to juggle multiple volumes, making it easier to locate files, organize data, and perform routine maintenance.
-
Improved Performance: In certain scenarios, merging volumes can lead to improved system performance. When multiple smaller volumes are combined, the operating system can access data more efficiently, potentially reducing file access times and enhancing overall responsiveness.
-
Enhanced Flexibility: Merging volumes allows users to customize their storage structure according to their specific needs. They can create a single, large volume for storing all data or create multiple volumes with varying sizes and purposes.
The Process of Merging Disk Volumes in Windows 11
Merging disk volumes in Windows 11 is a straightforward process, achievable through the Disk Management tool. However, it’s crucial to understand the potential risks and implications before proceeding.
-
Back Up Your Data: Before initiating any disk management operations, including merging volumes, it’s essential to back up all important data. This step ensures data protection in case of unexpected errors or system failures during the process.
-
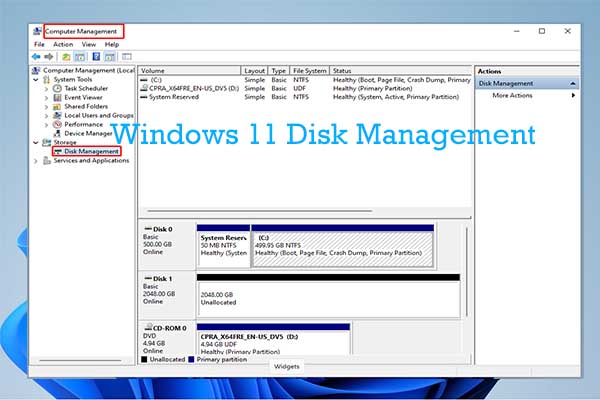
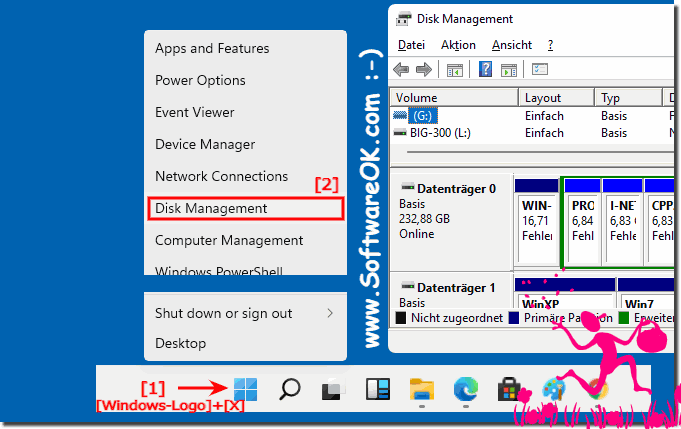
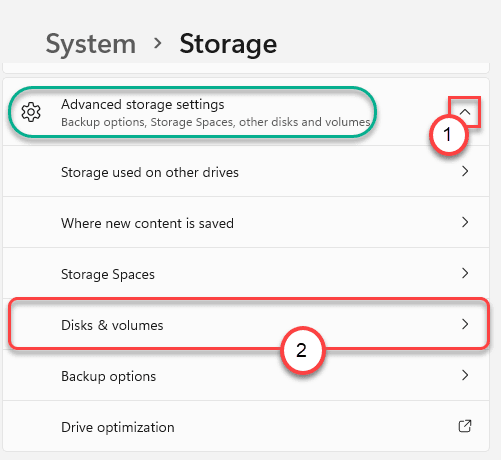
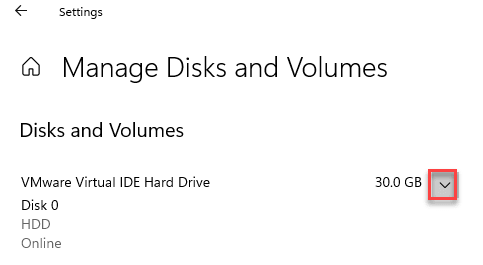
Access Disk Management: Open the "Disk Management" tool by searching for it in the Windows search bar or by pressing "Windows key + X" and selecting "Disk Management."
-
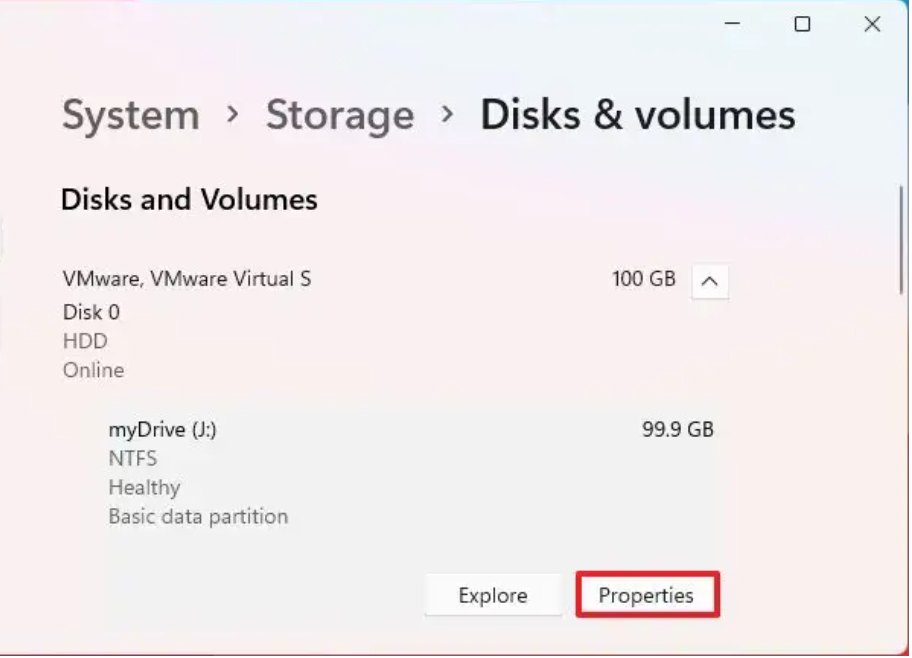
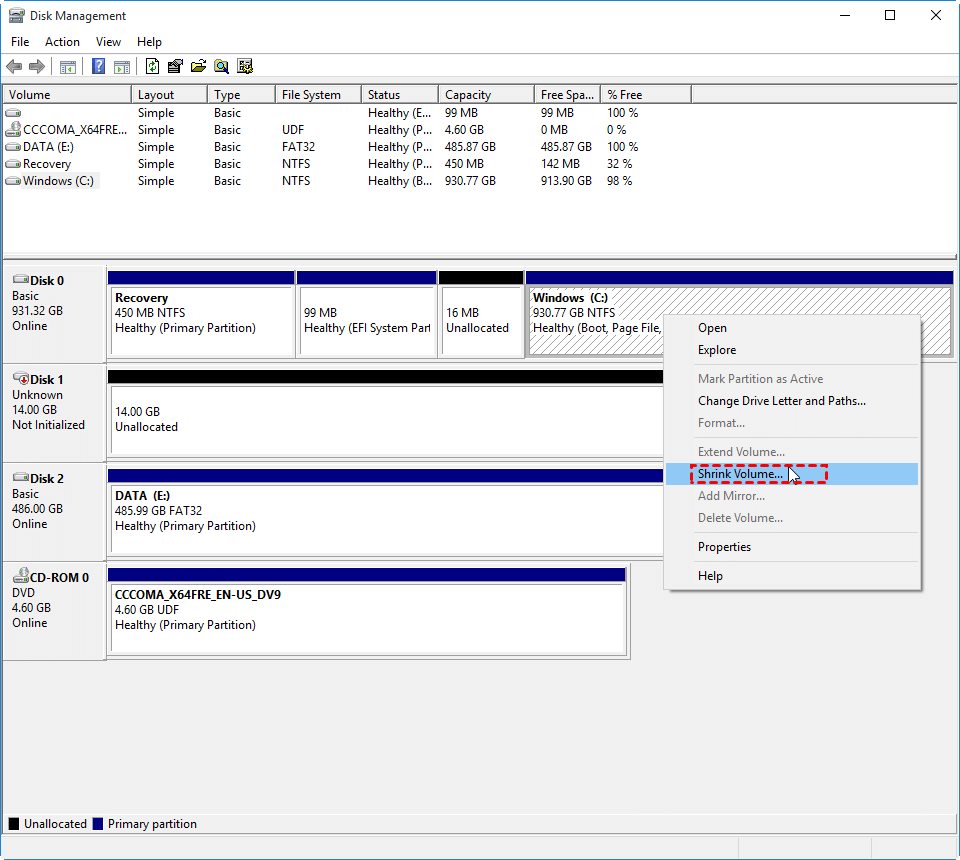
Identify the Volumes to Merge: Within Disk Management, locate the volumes you wish to combine. Ensure that the volumes are adjacent to each other on the disk.
-
Extend the Target Volume: Right-click on the target volume, the volume you want to extend, and select "Extend Volume."
-
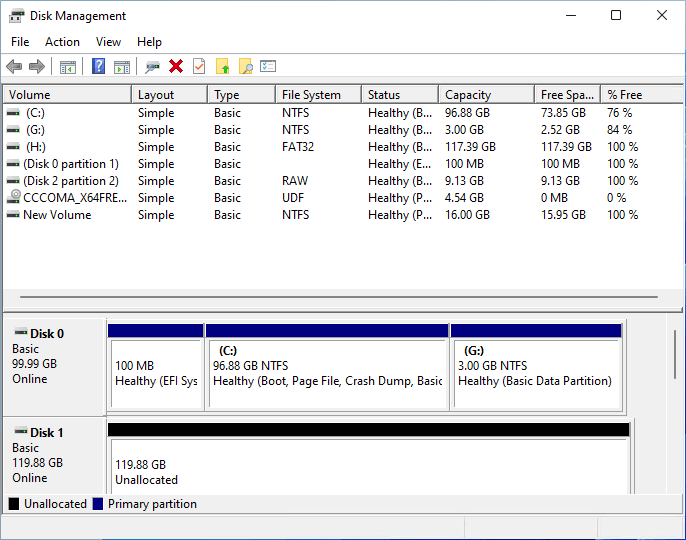
Select the Unallocated Space: In the "Extend Volume Wizard," select the unallocated space from the adjacent volume you wish to merge. This space will be incorporated into the target volume.
-
Complete the Extension: Follow the remaining steps of the wizard to finalize the volume extension process.
Important Considerations and Precautions
While merging disk volumes can be beneficial, it’s essential to be aware of certain considerations and precautions:
-
Data Loss Risk: Merging volumes involves modifying disk structure. If any errors occur during the process, data loss is a potential risk. Hence, backing up data beforehand is crucial.
-
Volume Type Compatibility: Merging volumes is typically possible only between volumes of the same type. For example, merging a basic volume with a dynamic volume is not directly supported.
-
System Partition Limitations: Merging the system volume (C: drive) can be a complex operation. It’s generally recommended to consult with a qualified technician or refer to official documentation before attempting to merge the system volume.
-
Performance Impact: While merging volumes can improve performance in some cases, it may lead to performance degradation in others, especially if the volumes being merged are fragmented or have different performance characteristics.
Frequently Asked Questions (FAQs)
Q: Can I merge volumes from different physical disks?
A: No, merging volumes is only possible between volumes located on the same physical disk.
Q: What happens to the data on the merged volume?
A: The data on the merged volume remains intact. The process simply combines the physical space of the volumes.
Q: Can I undo the volume merge?
A: Yes, you can undo the volume merge by shrinking the extended volume and creating a new volume from the unallocated space. However, this process might require data loss.
Q: Can I merge a volume with an encrypted volume?
A: Merging a volume with an encrypted volume may result in data loss or corruption. It’s recommended to consult official documentation or seek professional assistance.
Tips for Effective Disk Volume Management
-
Regularly Monitor Disk Space: Regularly monitor the available disk space on your volumes to identify potential storage issues.
-
Optimize Disk Space: Regularly clean up unnecessary files, empty the recycle bin, and uninstall unused applications to free up disk space.
-
Defragment Your Hard Drive: Defragmenting your hard drive can improve system performance by organizing scattered data files.
-
Consider Disk Partitioning: If you need to manage data separately, consider partitioning your hard drive into multiple volumes for better organization.
Conclusion
Merging disk volumes in Windows 11 provides a powerful tool for managing storage space effectively. By consolidating multiple volumes into a single, larger volume, users can simplify storage management, increase storage capacity, and potentially enhance system performance. However, it’s essential to proceed with caution, backing up data beforehand and understanding the potential risks and limitations. By adhering to best practices and utilizing available tools, users can effectively manage their storage space and optimize their Windows 11 experience.


Closure
Thus, we hope this article has provided valuable insights into Consolidating Storage: A Guide to Managing Disk Volumes in Windows 11. We appreciate your attention to our article. See you in our next article!