Capturing Your Screen: A Comprehensive Guide To Taking Screenshots On Windows 11
Capturing Your Screen: A Comprehensive Guide to Taking Screenshots on Windows 11
Related Articles: Capturing Your Screen: A Comprehensive Guide to Taking Screenshots on Windows 11
Introduction
In this auspicious occasion, we are delighted to delve into the intriguing topic related to Capturing Your Screen: A Comprehensive Guide to Taking Screenshots on Windows 11. Let’s weave interesting information and offer fresh perspectives to the readers.
Table of Content
Capturing Your Screen: A Comprehensive Guide to Taking Screenshots on Windows 11
In the digital age, the ability to capture and share visual information is paramount. Whether you’re seeking to document a technical issue, share a compelling image, or simply preserve a moment on your screen, screenshots have become an indispensable tool. This guide provides a detailed explanation of the various methods available to capture screenshots on Windows 11, empowering users to effectively document and share their digital experiences.
Understanding the Importance of Screenshots
Screenshots serve a multitude of purposes, making them a valuable asset for various tasks:
- Troubleshooting: Screenshots provide visual documentation of errors, system issues, or software behavior, facilitating efficient problem-solving and support requests.
- Communication: Sharing screenshots with others allows for clear and concise communication, conveying information effectively, especially in technical discussions.
- Education and Training: Screenshots are invaluable for creating tutorials, guides, and educational materials, visually demonstrating procedures and concepts.
- Social Media and Sharing: Screenshots enable the sharing of interesting content, funny moments, or noteworthy information found online, fostering engagement and connection.
- Legal Documentation: In certain situations, screenshots can serve as legal evidence, capturing online interactions or digital information for future reference.
Methods for Taking Screenshots on Windows 11
Windows 11 offers several intuitive methods to capture screenshots, catering to different needs and preferences:
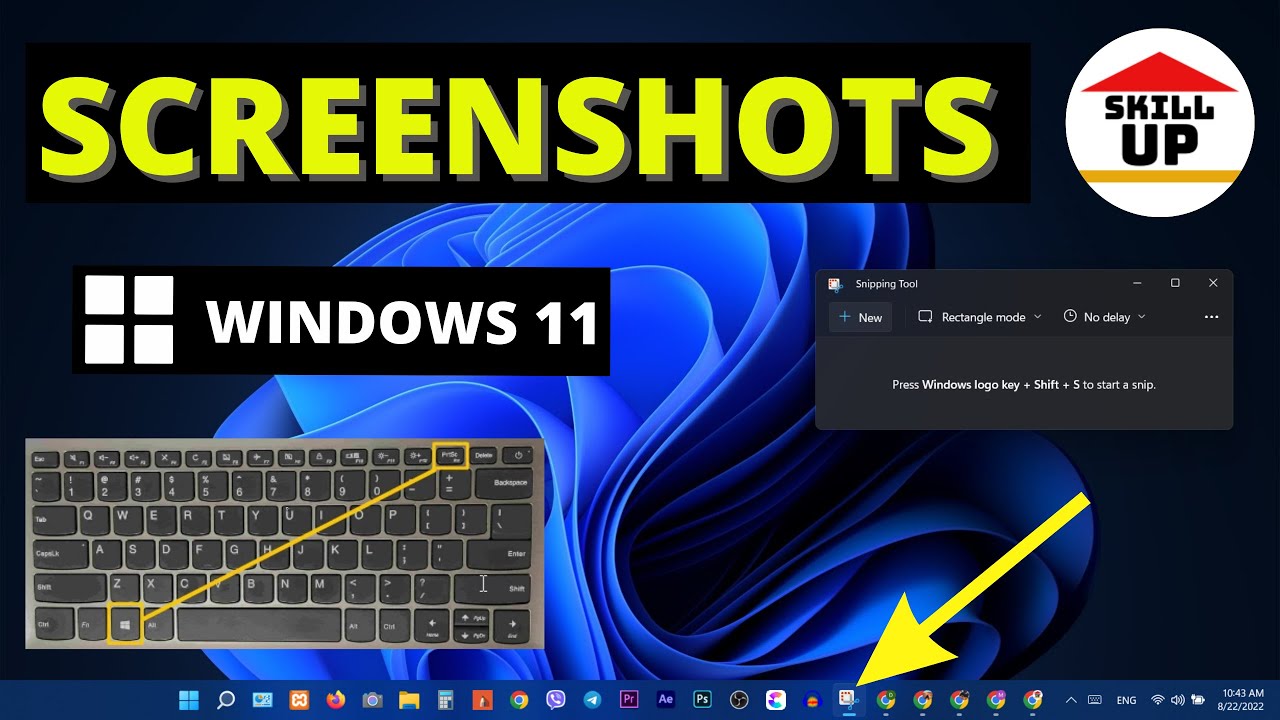
1. The Print Screen (PrtScn) Key:
This classic method captures the entire screen, including the taskbar and any open windows.
-
Steps:
- Press the Print Screen (PrtScn) key on your keyboard.
- The screenshot is saved to your clipboard.
- Open an image editing program (such as Paint or Photoshop) and paste the screenshot (Ctrl + V).
- Save the screenshot in your desired format.
2. The Alt + Print Screen (PrtScn) Key Combination:
This method captures only the active window, excluding other windows and the taskbar.
-
Steps:
- Ensure the window you wish to capture is active.
- Press and hold the Alt key and press the Print Screen (PrtScn) key simultaneously.
- The screenshot is saved to your clipboard.
- Open an image editing program and paste the screenshot (Ctrl + V).
- Save the screenshot in your desired format.
3. The Windows Key + Print Screen (PrtScn) Key Combination:
This method captures the entire screen and automatically saves it as a PNG file in the "Screenshots" folder within your Pictures library.
-
Steps:
- Press the Windows key and the Print Screen (PrtScn) key simultaneously.
- A notification will appear briefly, confirming the screenshot was taken.
- The screenshot will be saved in the "Screenshots" folder in your Pictures library.
4. The Windows Key + Shift + S Key Combination:
This method provides a more interactive screenshot experience, allowing you to select a specific area of the screen to capture.
-
Steps:
- Press the Windows key, Shift key, and S key simultaneously.
- A selection tool will appear at the top of the screen.
- Click and drag your mouse to select the desired area.
- The selected area will be captured and saved to your clipboard.
- Open an image editing program and paste the screenshot (Ctrl + V).
- Save the screenshot in your desired format.
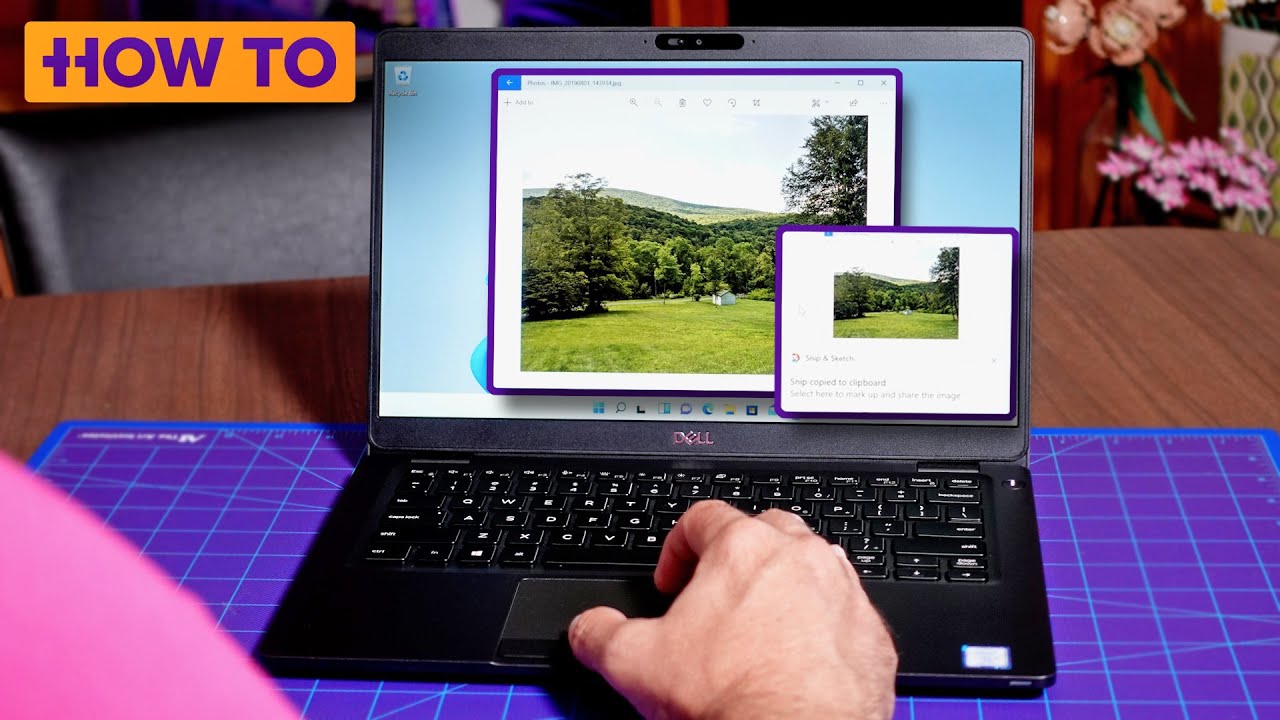
5. Using the Snipping Tool:
The Snipping Tool is a built-in Windows application that provides advanced screenshot capabilities, allowing you to capture various types of screenshots, including:
-
Free-form Snip: Capture an irregular shape by drawing around the desired area.
-
Rectangular Snip: Capture a rectangular area by dragging the mouse over the desired region.
-
Window Snip: Capture the entire contents of a selected window.
-
Full-screen Snip: Capture the entire screen, similar to the Print Screen key method.
-
Steps:
- Open the Snipping Tool by searching for it in the Start menu.
- Select the desired snip type from the options.
- Use your mouse to select the area you wish to capture.
- The captured screenshot will be displayed in the Snipping Tool window.
- You can then save, edit, or share the screenshot.
6. Using Third-Party Screenshot Software:
Numerous third-party screenshot applications offer advanced features and customization options, such as:
- Annotations and Editing: Adding text, arrows, shapes, and other elements to your screenshots.
- Scheduled Screenshots: Capturing screenshots at specific intervals or times.
- Scrolling Screenshots: Capturing entire web pages or long documents that extend beyond the screen.
- Video Recording: Capturing video recordings of your screen activity.
Frequently Asked Questions (FAQs)
Q: How do I access the "Screenshots" folder where the screenshots are saved?
A: The "Screenshots" folder is located within your Pictures library. You can access it by opening File Explorer and navigating to:
- This PC > Pictures > Screenshots
Q: What file format are screenshots saved in?
A: The default file format for screenshots taken using the Windows Key + Print Screen method is PNG (Portable Network Graphics).
Q: Can I change the default location for saving screenshots?
A: While the default location for screenshots cannot be directly changed, you can move the "Screenshots" folder to a different location within your file system.
Q: Can I customize the settings for the Snipping Tool?
A: Yes, the Snipping Tool offers various settings, including:
- Delay: Setting a delay before the screenshot is captured.
- Color: Selecting the color of the ink used for annotations.
- Pen Thickness: Adjusting the thickness of the pen for annotations.
- Save Location: Specifying a different location to save screenshots.
Tips for Taking Effective Screenshots
- Optimize Your Screen: Ensure your screen is clean and organized before taking a screenshot.
- Choose the Right Method: Select the method that best suits your needs, whether capturing a specific window, the entire screen, or a selected area.
- Use the Snipping Tool’s Features: Explore the features of the Snipping Tool to enhance your screenshots with annotations, delays, and other options.
- Consider Third-Party Software: If you require advanced features or customization, consider using specialized screenshot software.
- Label and Organize: Name your screenshots descriptively and organize them into folders for easy access and retrieval.
Conclusion
Capturing screenshots on Windows 11 is a straightforward process with a variety of methods to choose from. Whether you need to document a technical issue, share information visually, or create educational materials, mastering the art of taking screenshots empowers you to effectively communicate and document your digital experiences. By understanding the different methods and their respective capabilities, users can select the most suitable approach for each specific need, ensuring efficient and accurate visual representation of their digital content.
![How to Take Screenshots on Windows 11 [8 Methods Explained] Beebom](https://beebom.com/wp-content/uploads/2021/07/How-to-Take-Screenshots-on-Windows-11.jpg)


Closure
Thus, we hope this article has provided valuable insights into Capturing Your Screen: A Comprehensive Guide to Taking Screenshots on Windows 11. We appreciate your attention to our article. See you in our next article!